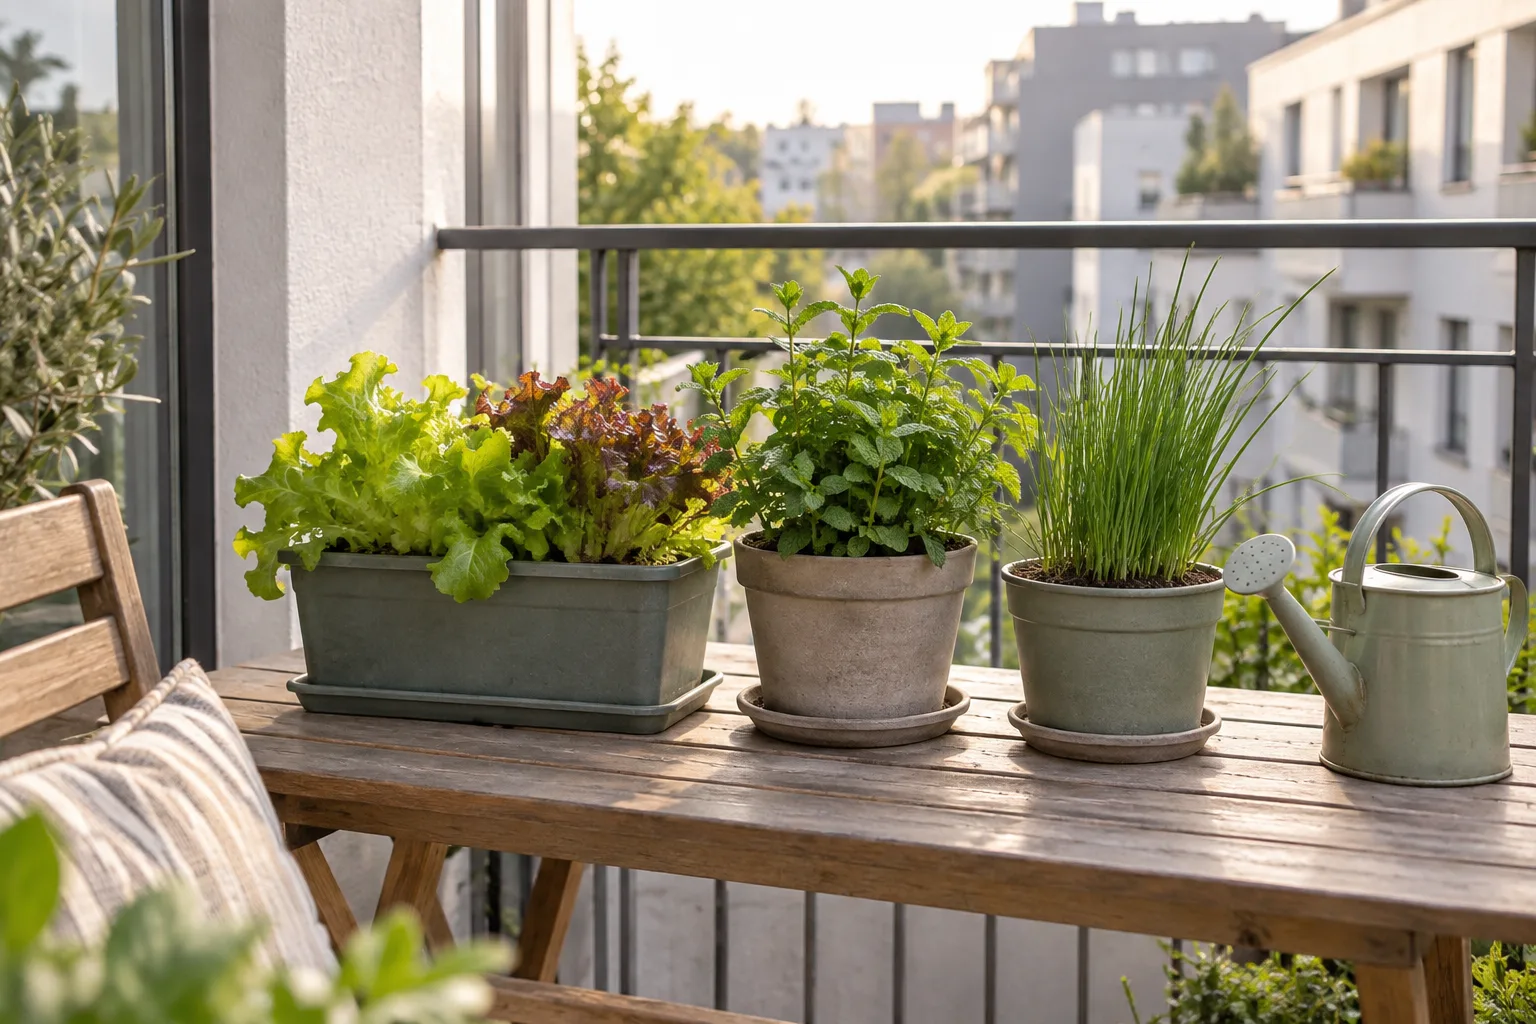
A rented balcony can grow herbs, salad greens, flowers, and compact vegetables. The setup has to account for building rules, wet-container weight, wind, hard shadows, and runoff before the first pot arrives. Those constraints make balcony gardening a different skill from gardening in the ground.
A backyard forgives mistakes. The ground absorbs extra water, the soil buffers heat and cold, and nobody minds if you rearrange things. A balcony forgives less. It has weight limits, building rules, wind that dries pots out in hours, hard shadows from nearby buildings, and water that has to go somewhere other than the neighbor’s patio below.
So balcony gardening isn’t a smaller version of backyard gardening. It’s a slightly different skill, and the first half of it happens before you buy a single pot. This guide walks through it in order: check your space and rules, read your light, choose containers, pick first plants that are hard to kill, and skip the mistakes that end most first-year balcony gardens. Nothing here needs permanent changes to your balcony.
Step 1: Check the rules that apply to your building
This is the least fun step, so it goes first. If you rent, most lease agreements say something about balconies. If you own a condo or townhouse, the HOA or building bylaws usually do. And if you own a house with a balcony, you can skip the paperwork; though the weight and drainage steps below still apply to you.
It’s much easier to work within the rules than to argue about them after you’ve installed six railing planters. Things worth checking in your lease, or with your landlord, HOA, or building manager:
- Whether anything can hang outside the railing. Many buildings prohibit it outright, usually for good reason; a falling planter is dangerous.
- Whether you can attach anything to walls, ceilings, or railings, or whether everything has to be freestanding.
- Rules about water runoff. Some buildings require saucers under every pot.
- Any stated weight limits for the balcony.
If your lease or bylaws are silent on all of this, a short friendly email settles it. “I’d like to keep a few potted plants on the balcony; any rules I should know about?” is usually all it takes.
Step 2: Take weight seriously
Wet soil is heavier than most people expect. A 20-inch (50 cm) pot filled with moist potting mix can weigh 65 pounds (30 kg) or more; about as much as a full suitcase. Add a few of those, plus a wet planter box and a person, and the load adds up quickly.
Balconies are engineered with load limits, and you usually won’t know the exact number just by looking. So garden conservatively:
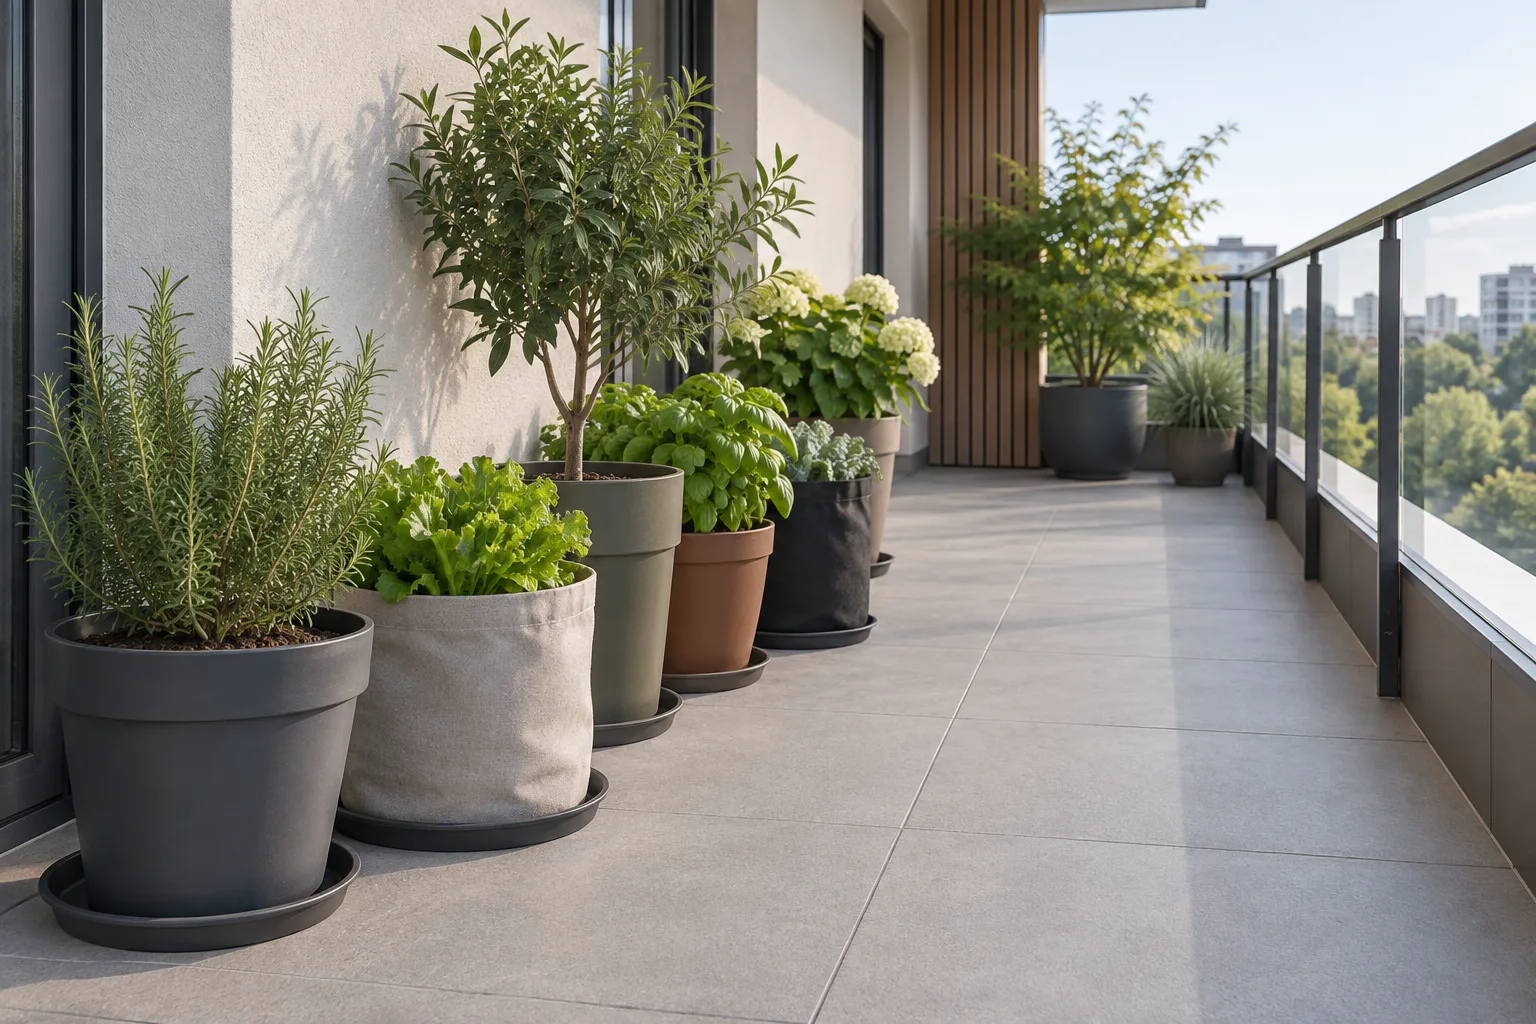
- Keep the heaviest pots near the building wall rather than clustered at the outer edge or mid-span; a conservative habit, not a guarantee. Balcony structures differ.
- Prefer several medium containers over one enormous one.
- Use lightweight containers (fabric pots, resin, fiberglass) and quality potting mix rather than garden soil, which is heavier and drains poorly in pots anyway.
- If you’re dreaming about raised beds or large troughs, confirm the balcony’s load capacity first; with your landlord, HOA, building management, or a qualified professional. For structural questions, the answer should come from your building; not from a gardening blog, including this one.
Step 3: Read the light at pot level
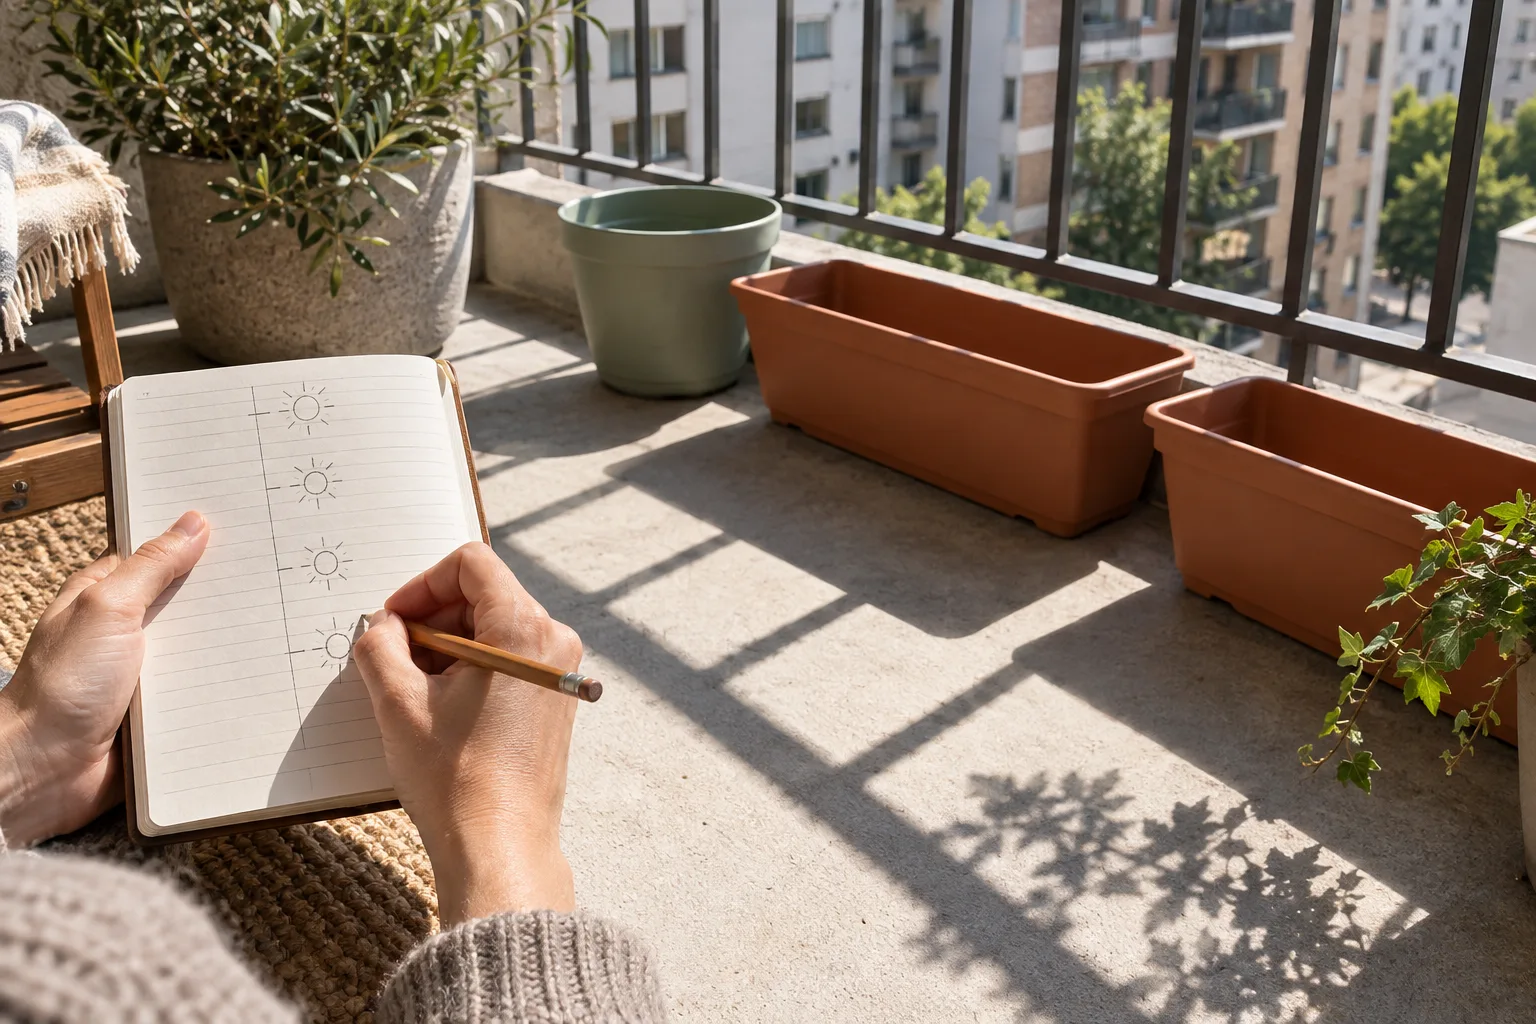
More first balcony gardens fail from misjudged sunlight than from anything else. Buildings cast hard shadows, and a balcony that feels bright at lunchtime may only get two hours of direct sun.
Pick a clear day and check your balcony every hour or two. Note when direct sun lands on the floor or railing; not just bright sky. Then place yourself in one of three groups:
| Direct sun per day | Typical balcony | What realistically grows |
|---|---|---|
| 6+ hours | South- or west-facing, unshaded | Almost anything: tomatoes, peppers, basil, beans, plus all the easier crops |
| 4 to 6 hours | East-facing, or partly shaded | Herbs, salad greens, bush beans, strawberries, radishes |
| Under 4 hours | North-facing, or boxed in by buildings | Leafy greens, mint, parsley, chives, shade-tolerant ornamentals |
Under 4 hours is still a real garden; just a different one. A shaded balcony full of healthy mint, parsley, and greens beats a sunny one full of sulking tomatoes. If you’re not sure which group you’re in, spend one clear day noting when direct sun lands where a pot would go. That single measurement decides more than anything else on this page.
Step 4: Plan for wind
Balconies above the second or third floor are windier than ground-level gardens, and wind does two things: it snaps or shreds fragile plants, and it dries out containers much faster than you’d expect.
- Choose sturdier, lower-growing plants if your balcony is exposed. Rosemary, thyme, and bush varieties handle wind better than tall, staked plants.
- Use heavier or wider-based pots for anything tall, so gusts can’t tip them.
- Expect to water more often than indoor plant habits suggest; wind is a hair dryer for soil.
- Never balance anything on a railing without a proper bracket designed for it, and only if your building allows railing planters at all.
Step 5: Choose containers that make life easier
Almost anything can be a planter, but as a beginner you’ll have a better first season if your containers share three traits: they’re big enough, they drain, and they’re light enough to move.
Size
Small pots dry out fast and starve roots. As a rough floor: herbs want pots at least 6 to 8 inches (15 to 20 cm) across; lettuce and greens want 8 to 10 inches (20 to 25 cm) of width and depth; a tomato wants something in the 14 to 18 inch (35 to 45 cm) range, or roughly a 5-gallon (20-liter) container. When in doubt, go one size up.
Drainage
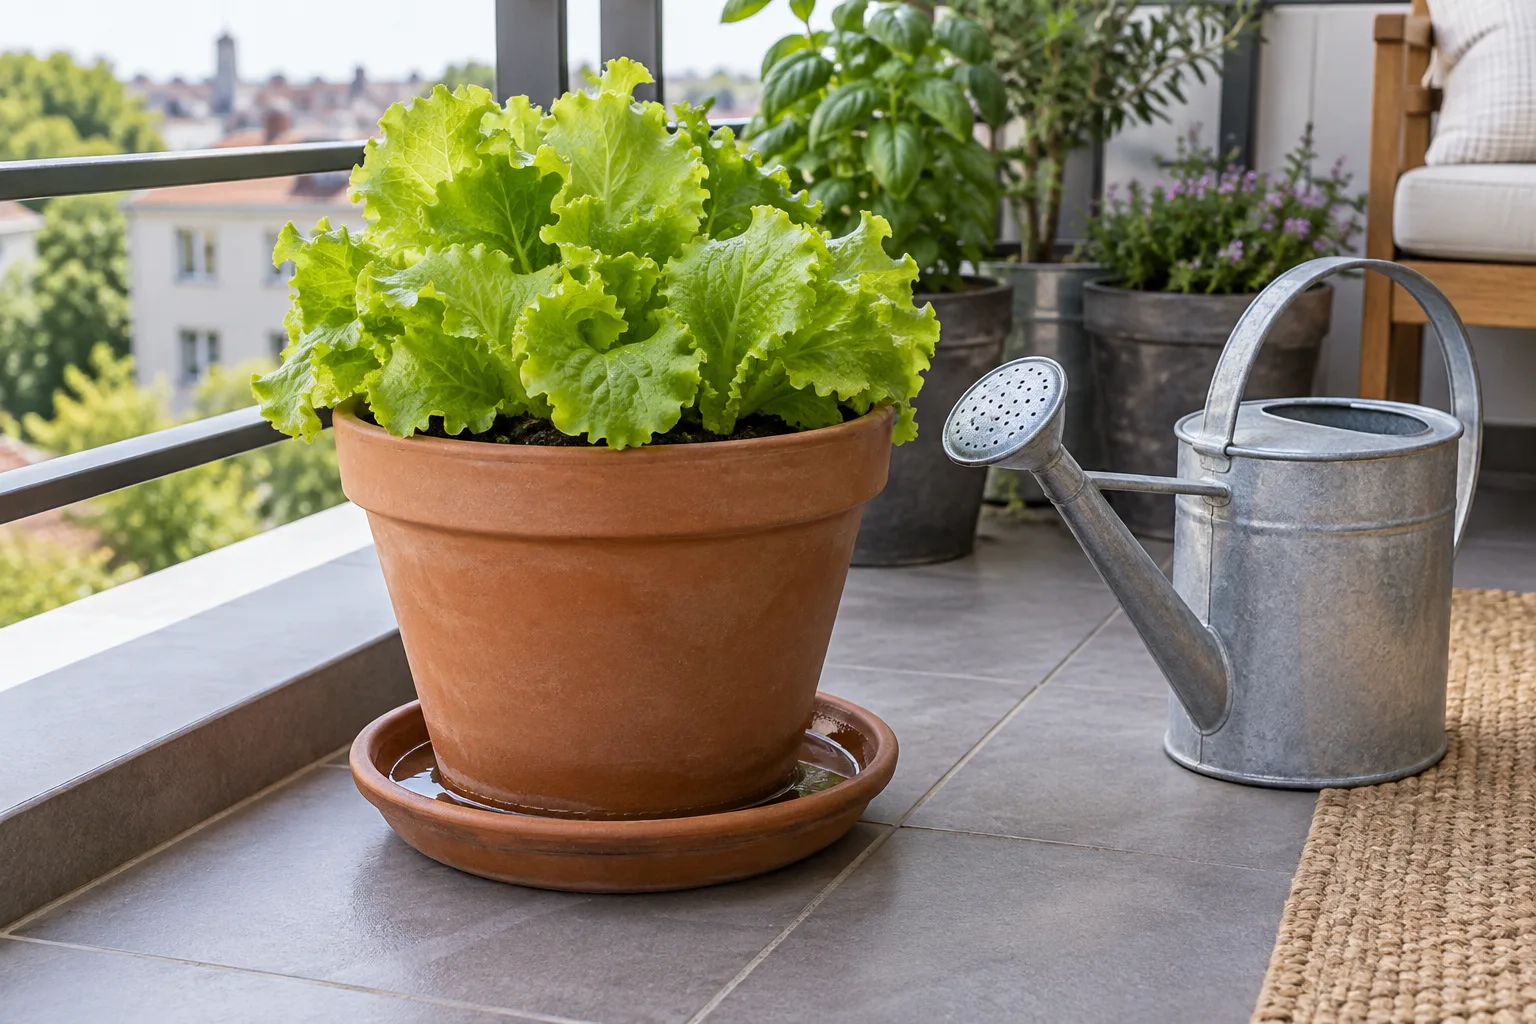
Every pot needs drainage holes. No gravel layer at the bottom fixes a pot without holes; that’s an old myth that makes drainage worse. Put a saucer under each pot to protect the balcony surface and whoever lives below, and empty saucers after heavy rain so roots don’t sit in water.
Material
Terracotta looks lovely and breathes well, but it’s heavy and dries out quickly. Plastic and resin hold moisture longer and weigh far less. Fabric grow bags are cheap, light, drain well, and store flat over winter; a genuinely good small-space option. Self-watering containers (with a water reservoir underneath) smooth out hot weekends and are worth considering for thirsty crops. Our balcony container size guide covers materials, sizes, and railing planters in more detail when you’re ready to buy.
Step 6: Buy potting mix, not garden soil
Containers need potting mix; the light, fluffy bagged stuff made from peat or coir, compost, and perlite. Garden soil and “top soil” compact in pots, drain badly, and can bring pests along. This is one of the few purchases where the cheap option genuinely costs you later; a mid-range potting mix is fine, the bargain-bin dust often isn’t.
Most vegetables and herbs also appreciate gentle feeding through the season, because frequent watering washes nutrients out of pots. A basic all-purpose organic fertilizer used at half strength every couple of weeks covers a beginner’s needs.
Step 7: Start with plants that forgive mistakes
Your first season is for learning your balcony, not for maximizing harvest. These plants tolerate beginner errors and still produce.
Herbs
- Mint: nearly indestructible, happy in partial shade. Keep it in its own pot; it takes over shared containers.
- Chives: cold-tolerant, regrow after cutting, fine with 4 hours of sun.
- Parsley: steady producer, handles cool weather and part shade.
- Basil: wants warmth and 6+ hours of sun, but rewards you all summer if it gets them.
- Thyme and rosemary: drought-tolerant, good in wind, forgiving if you forget to water.
Vegetables
- Loose-leaf lettuce and salad greens: fast, shallow-rooted, fine in part shade, and you can harvest leaves as you need them.
- Radishes: ready in about a month; great for impatient beginners.
- Bush beans: compact, productive, no trellis needed.
- Cherry tomatoes: the classic balcony crop, but only if you have 6+ hours of sun and a big enough pot. Choose a compact or “patio” variety.
- Green onions: small pots, quick results, regrow from grocery-store scraps.
Wherever summers arrive slowly, wait to put warm-weather plants like basil and tomatoes outside until nights stay reliably above about 50 °F (10 °C). Cold nights stall them even if days feel warm.
Seeds or seedlings?
For a first season, buy seedlings for anything slow or fussy; tomatoes, peppers, rosemary, basil; and grow fast crops from seed. Lettuce, radishes, green onions, and beans sprout quickly and cost pennies per plant, while a tomato started from seed indoors in February is a project you don’t need yet. Garden centers sell herb and vegetable starts for a few dollars each in spring, and starting with a healthy young plant removes an entire category of beginner problems. If you do want to grow from seed, our guide to starting seeds for a balcony garden covers timing, germination, and transplanting.
One caution when buying seedlings: check them for pests before they come home. A quick look under the leaves for webbing, sticky residue, or tiny insects saves your whole balcony from an aphid colony later. On a small balcony there’s nowhere to quarantine a problem plant, so it’s easier to be picky at the store.
Step 8: Water like a balcony gardener
Containers dry out much faster than ground soil; sometimes daily in hot, windy weather. The finger test beats any schedule: push a finger an inch or two (a few centimeters) into the soil, and water when it feels dry at that depth. Water slowly until it runs from the drainage holes, then stop.
Two habits prevent most watering problems: check pots in the morning (especially small ones and anything in wind), and empty saucers after rain. Constantly soggy soil kills container plants as reliably as drought does.
Step 9: Plan drainage so it never reaches the neighbors
On a balcony, drainage isn’t just a plant-health issue; it’s a neighbor-relations issue, and in many buildings it’s a rules issue. Water dripping onto the balcony below is the single fastest way to turn a landlord, HOA, or building against balcony gardens, yours and everyone else’s.
A simple system prevents it entirely:
- A saucer under every pot, no exceptions. Size the saucer to the pot; an undersized saucer overflows on the first thorough watering.
- Water in stages. Give each pot half its water, do the rest of the pots, then come back. Staged watering lets the soil absorb instead of channeling water straight through to the saucer; or past it.
- Know which way your balcony slopes. Most balconies are built with a slight outward slope so rain drains away from the building. Watch where water travels after a heavy rain before deciding where pots go.
- Empty saucers after rain. An open balcony’s saucers fill in a storm; standing water rots roots and eventually overflows.
- Never let railing planters drip outward. If your building allows them at all, they need built-in reservoirs or inner trays; water falling from height is how balcony gardening gets banned in a building.
A tiny first setup that fits
If you want a concrete starting point, here is a first setup that fits in one corner of almost any balcony, weighs little, breaks no reasonable building rule, and teaches you everything you need for season two:
- One 8-inch (20 cm) pot of mint: survives shade, wind, and neglect. Your confidence plant.
- One 8-inch pot of chives or green onions: regrows after every harvest, handles cool nights.
- One 10-inch (25 cm) pot or small trough of loose-leaf lettuce: sown from seed, picking leaves within about five weeks.
Three pots, three saucers, one bag of potting mix, one packet of seeds, two seedlings. Depending on where you shop, that’s roughly $40 to 70 total, each pot weighs less than a bag of groceries, and every piece of it works on a shaded, windy, rule-bound balcony; rented or owned. If your light turns out better than expected, add a cherry tomato next month; the setup scales up, and it never has to scale down.
What to buy first (and what can wait)
The full realistic first shopping list:
- 3 to 5 containers with drainage holes, plus saucers
- One large bag of potting mix
- A watering can you can fill indoors
- A few herb seedlings and one packet of lettuce or radish seeds
- A small all-purpose organic fertilizer
What can wait: grow lights, trellises, drip irrigation, soil meters, and anything sold as a “complete balcony garden system.” Add tools when a real problem asks for them, not before.
Your first week, day by day
- Days 1 to 2: Check the rules that apply to you; your lease, or a quick message to your landlord, HOA, or building manager. While you wait, track direct sun for at least one clear day.
- Day 3: Decide your layout; heavy pots near the wall, a clear walking path, saucer positions. Note where rain water travels.
- Day 4: Shop: containers, saucers, potting mix, seeds, seedlings. Check seedlings for pests before they come home.
- Day 5: Pot everything up. Fill containers to an inch or two below the rim, plant, and water slowly until it just reaches the saucer.
- Days 6 to 7: Watch, don’t fuss. Check soil moisture each morning with the finger test, note how fast wind dries things out, and resist buying more pots for at least two weeks.
First-season decisions that cause extra work
- Too many pots, too fast. Five containers you can care for beat fifteen you resent by July.
- Optimistic light math. Counting bright shade as “sun” leads to leggy, sulking tomatoes. Match plants to the light you measured, not the light you wish you had.
- Pots that are too small. The most common cause of constant wilting and tiny harvests.
- Ignoring drainage. Decorative pots without holes are for holding a plastic nursery pot, not for planting into directly.
- Planting warm-weather crops too early. One cold week can undo a month of growth.
- Forgetting the neighbors. Dripping water and blowing debris annoy the people below; and, if you rent, they’re the fastest way to turn a landlord against balcony gardens. Saucers and a quick sweep keep the peace.
Your balcony garden starter checklist
- Checked the lease, HOA, or building rules that apply to my balcony
- Planned pot placement with heavy containers near the wall
- Tracked direct sun for at least one full day
- Chosen 3 to 5 containers with drainage holes and saucers
- Bought potting mix (not garden soil)
- Picked forgiving first plants matched to my measured light
- Waited for warm nights before setting out basil and tomatoes
- Set a morning habit of checking soil moisture
Turn the checks into a first-season plan
The best first balcony garden is a modest one: a few herbs you cook with, a pot of lettuce, maybe one cherry tomato if your light allows it. Grow that for a season and you’ll learn how your specific balcony behaves; where the wind hits, how fast pots dry, which corner gets the real sun. That’s the knowledge that makes year two easy.
Your single most useful next step is to measure your light properly. Pick one clear day, note when direct sun reaches each spot a pot could go, and add up the hours. Once you know that number, choosing plants and containers that fit your balcony stops being guesswork; and our guides on measuring balcony sunlight, choosing containers, balcony herbs, and container vegetables take it from there.
If cold nights or a short season are your main constraint, use the cool-climate balcony gardening guide to plan the spring, summer, and fall growing windows.
This guide is general information for typical balconies. Balcony structures and rules differ; always follow your building’s rules and confirm weight limits with your landlord, HOA, or building management, especially before adding large or unusually heavy planters.
Keep planning
Next, measure the direct light and use the result to choose a workable container size.
Choose plants after you understand the space. The condition-based balcony plant guide helps you narrow choices by sun, wind, heat, pot size, and the amount of care you can realistically give.