Signs a balcony plant needs repotting
Before the how-to, the how-do-you-know. A plant that’s outgrown its pot usually tells you before it fails outright, if you know what to look for.
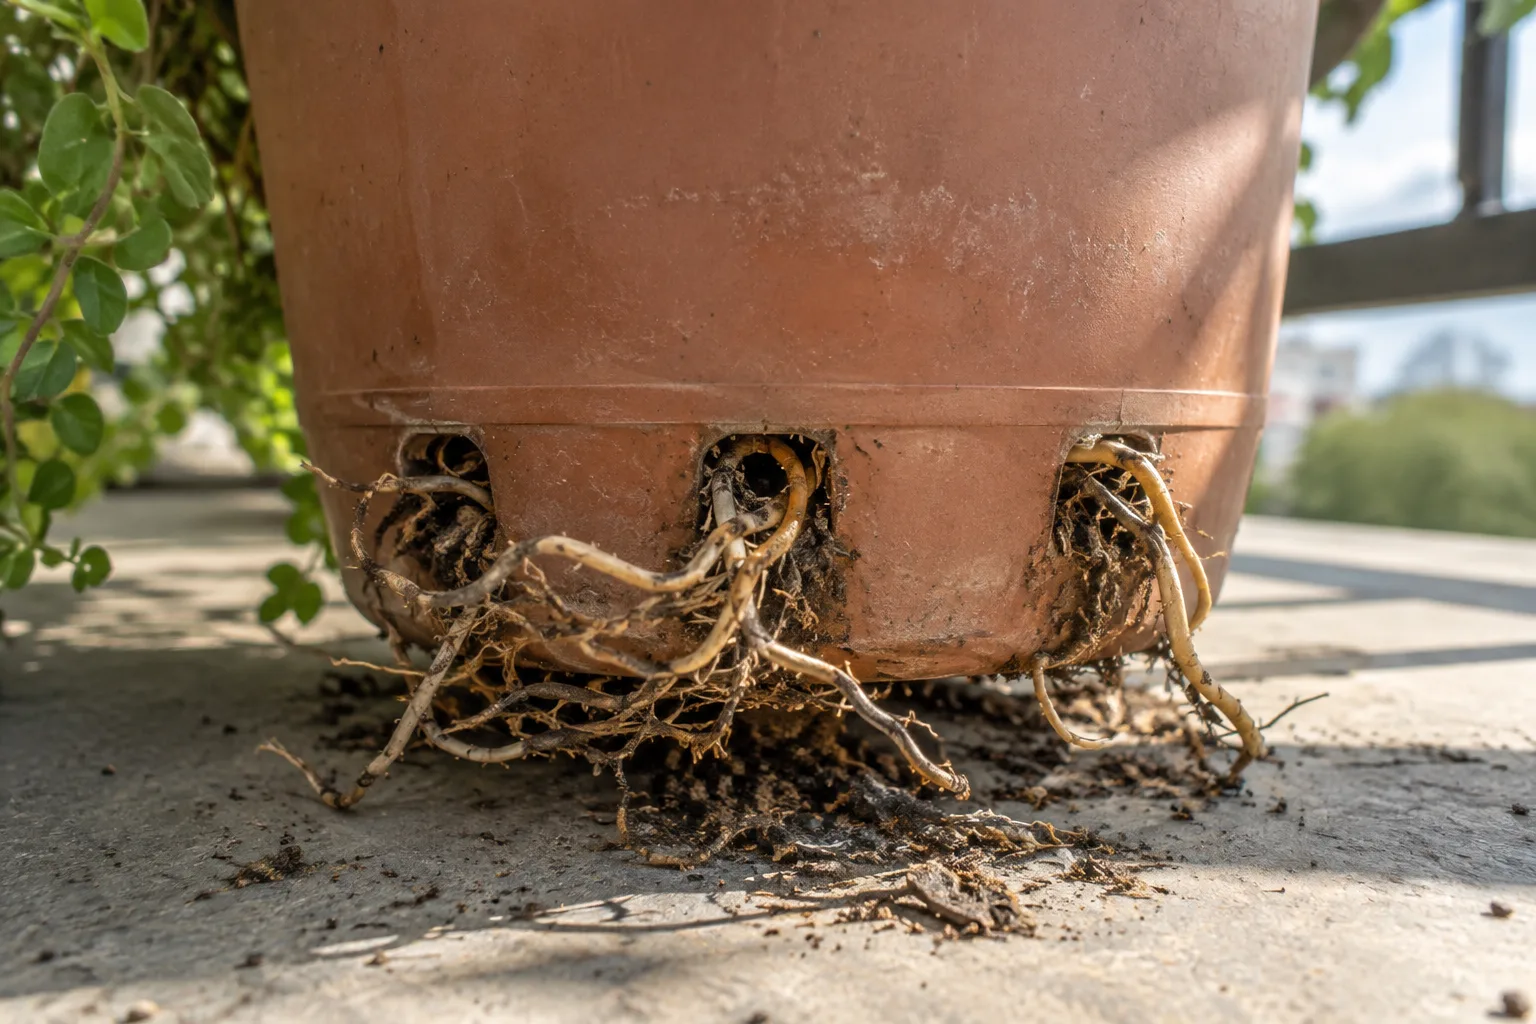
- Roots showing at the drainage holes or circling the surface. This means roots have run out of room and started growing wherever they can find space.
- The pot dries out much faster than it used to. A root-bound plant has more root mass than soil, so there’s simply less soil left to hold water.
- Growth has stalled or slowed noticeably even though you’re watering and feeding on the same schedule that worked before.
- The plant is top-heavy and tips over easily, or feels unusually light for its size once the pot dries out.
- Lower leaves are yellowing and dropping despite otherwise normal care, sometimes with visible mineral or salt buildup crusting on the soil surface or pot rim.
One or two of these on their own might mean something else entirely, uneven watering, a nutrient deficiency, but three or more together, especially roots at the drainage holes plus noticeably fast drying, is a fairly reliable sign it’s time to move up a pot size instead of endlessly troubleshooting the watering schedule.
Why balcony containers need this more often than ground beds
A plant in the ground can send roots out indefinitely in search of more space and nutrients. A plant in a balcony container hits a hard physical wall, literally, once roots reach the pot’s edge, and from that point on it’s working with a fixed, shrinking amount of usable soil as the roots keep filling in. That’s why container plants generally need repotting on a shorter cycle than the same species would in open ground: fast growers like tomatoes or many annual flowers might need it within a single season, while a slower-growing perennial shrub in a large pot could go two or three years before it’s properly root-bound and showing the signs above.
What you’ll need
- A new pot roughly one-third wider and deeper than the current one, with drainage holes
- Fresh potting mix suited to the plant (see our guide to balcony pots and containers for material, and skip straight to a bagged potting mix instead of garden soil)
- A trowel or your hands, and something to catch spilled soil if you’re working on a balcony instead of over grass
- Pruning snips, in case any roots or damaged growth need trimming
Step 1: Pick the right size new pot
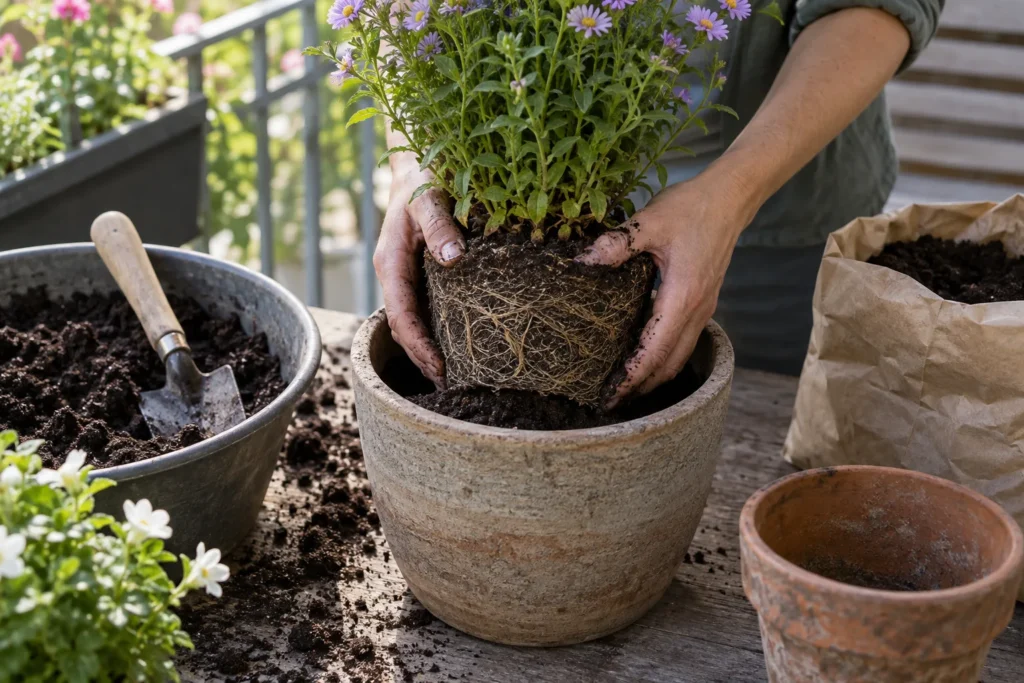
Resist the urge to jump several sizes up at once. A pot that’s dramatically bigger than the plant’s current root system holds far more soil than the roots can use, and that extra soil stays wet long after the root zone has dried, which invites root rot. One-third wider and one-third deeper than the current container is the standard rule of thumb, enough room for a full season or two of new growth without drowning the plant in the meantime.
Step 2: Time it right
Repotting stresses a plant somewhat no matter how careful you are, so doing it while the plant is actively growing, not during a heat wave or a dormant stretch, gives it the best chance to recover quickly. Late winter into early spring is the classic window for most plants, right before the main growing season kicks in, though a plant that’s badly root-bound in the middle of summer shouldn’t just wait it out; better to repot slightly off-season than let a severely pot-bound plant keep struggling for months.
Step 3: Get the plant out cleanly
Water the plant thoroughly a few hours before repotting; moist soil releases cleanly from the pot walls in a way bone-dry soil simply doesn’t. Turn the pot on its side, and squeeze or tap the outside to loosen the root ball instead of yanking on the stem, which can tear roots or snap stems. If it’s well and truly stuck, run a thin knife or trowel around the inside edge of the pot to break the bond between soil and container before trying again.
Step 4: Loosen the roots
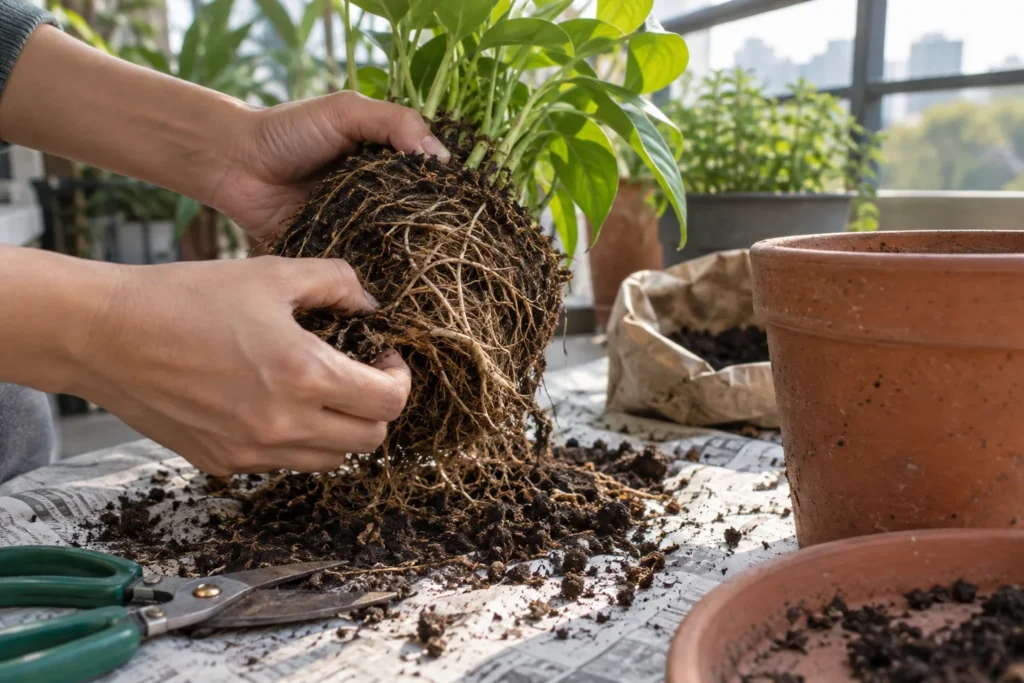
Once it’s out, look at the root ball. If roots are tightly circling the outside in a dense mat, gently tease them apart by hand, or make three or four shallow vertical cuts into the root mass with clean snips. This feels counterintuitive, cutting roots on purpose, but a root ball left tightly wound will often keep growing in the same circular pattern in the new pot instead of spreading outward into the fresh soil around it, undoing much of the point of repotting in the first place.
Step 5: Set the depth and backfill
Add enough fresh potting mix to the bottom of the new pot that the plant sits at the same depth it was growing at before, burying the stem noticeably deeper than it was growing before can encourage rot right at the base for most common balcony plants. Center the root ball, then fill in around the sides with fresh mix, pressing gently to remove large air pockets without compacting the soil down hard.
Step 6: Water and give it a quiet spot
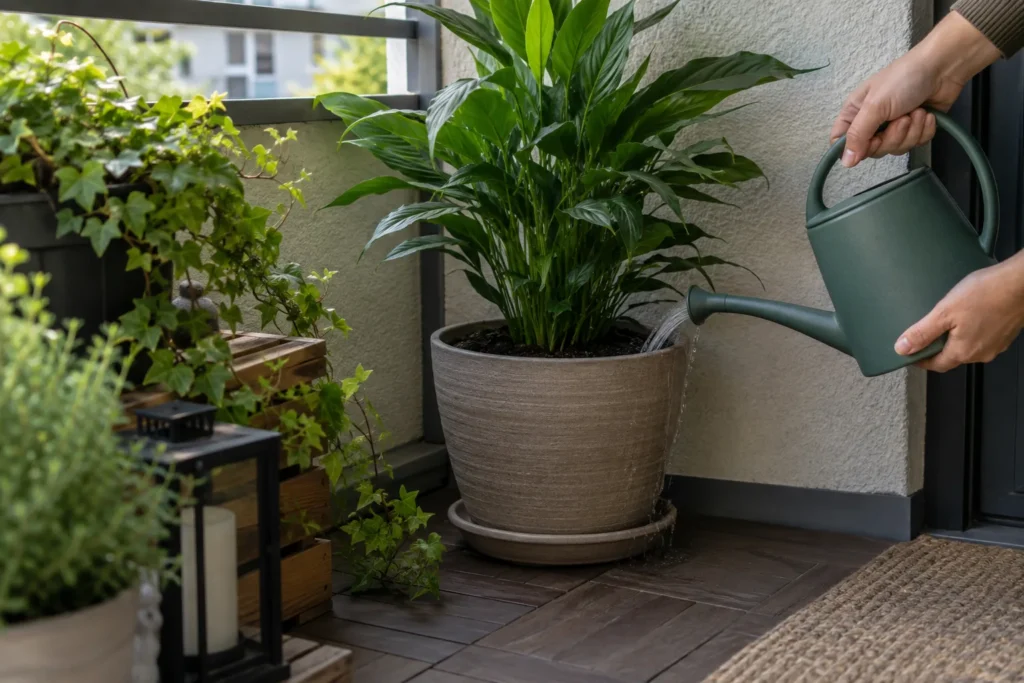
Water thoroughly right after repotting to settle the soil around the roots and eliminate remaining air gaps. Keep the plant out of harsh direct sun and away from strong wind for the next several days to a week; it just lost some root contact with soil, and reducing every other source of stress while it re-establishes helps it recover noticeably faster. Some leaf droop or minor yellowing in the days right after repotting is normal transplant stress, not a sign of a problem, as long as it settles down within a week or two instead of getting worse.
When you don’t want a bigger pot: refreshing in place
Sometimes a plant needs the benefits of repotting, fresh soil, more root room to work with, but without getting any bigger, either because it’s already at the largest pot your balcony can hold or because you’re trying to keep a fast grower a manageable size. In that case, take the plant out using the same process above, but instead of moving to a larger container, trim back the outer inch or so of the root ball with clean snips and return the plant to the same pot with fresh potting mix packed around the trimmed roots. This root-pruning approach resets the ratio of root to soil without letting the plant get any larger, and it’s worth repeating every year or two for a plant that’s maxed out its pot size but still needs a periodic refresh to keep performing well. There’s a genuine skill to it, and once you’ve done it a couple of times it stops feeling like surgery and starts feeling like ordinary upkeep.
Mistakes that turn a routine repot into a setback
- Jumping too many pot sizes at once. Excess unused soil around a small root ball stays wet and invites rot.
- Repotting into garden soil instead of potting mix. Garden soil compacts hard in a container and drains poorly, undoing the whole point of giving the roots more room.
- Repotting during a heat wave and leaving the plant in full sun immediately after. That combination stacks heat stress on top of transplant stress right when the plant can least handle it.
- Ignoring a badly tangled root ball and just dropping it into a bigger pot without loosening anything, which often means the roots keep circling instead of spreading into the new soil.
- Fertilizing immediately after repotting. Freshly disturbed roots aren’t ready to take up a full feed, and fresh potting mix usually has enough built-in nutrients to cover the first few weeks anyway.
If the plant looks worse before it looks better
Mild wilting, a little leaf drop, or slower growth for a week or two after repotting is normal and usually resolves on its own as the roots reestablish contact with the surrounding soil. What’s not normal: leaves that keep declining well past the two-week mark, new growth that emerges weak or discolored, or the plant failing to perk back up even with consistent watering. That pattern usually points to damaged roots during the process, soil that’s staying too wet in the new, larger pot, or a pot size that was too big a jump for the plant to handle all at once. If it happens, resist the urge to keep upsizing further; the fix is usually just patience and consistent, moderate watering, not another intervention.
What to do next
Once a plant is freshly repotted, hold off on any fertilizing for a few weeks; fresh potting mix usually has enough nutrients built in, and feeding stressed roots too soon can do more harm than good. If you’re not sure the new pot size and material really suit the plant long-term, our guides to balcony container sizing and choosing balcony pots and containers cover that decision in more depth than this repotting walkthrough does, and are worth reading before your next repot, not after.