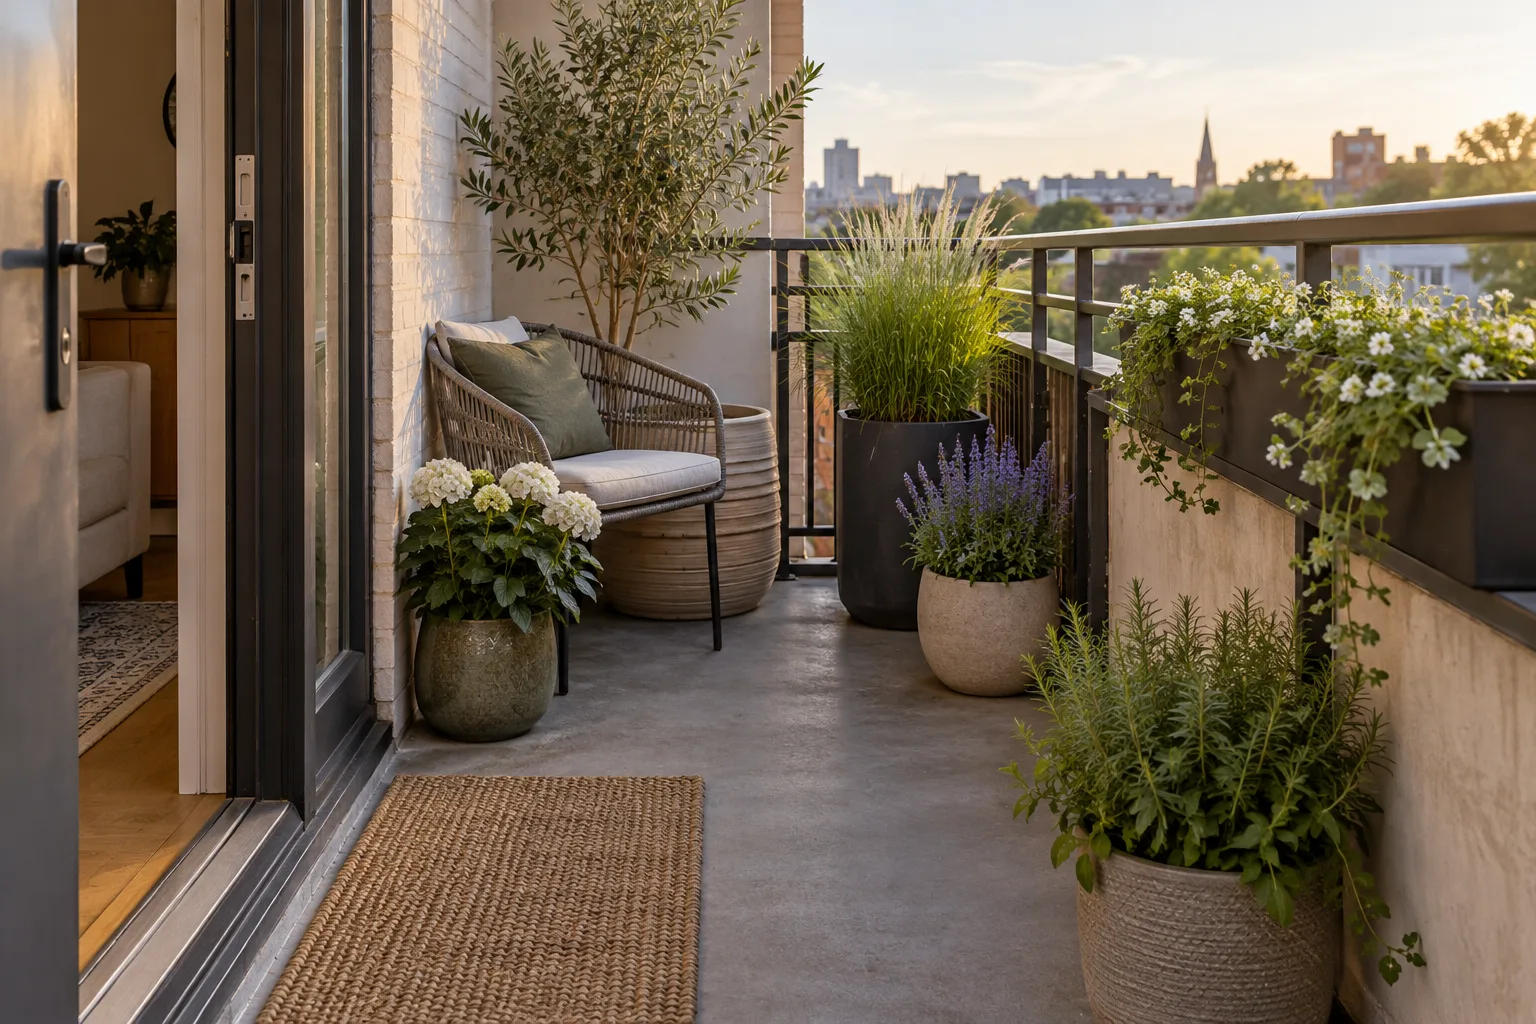
A small balcony does not need more pots. It needs a layout that lets you reach the plants, open the door, clear the drain and carry a watering can without stepping over anything. Once those jobs have a place, even a narrow rental balcony can hold a useful garden without feeling packed.
The five layouts below are starting patterns, not fixed blueprints. Choose the one that matches your balcony’s shape and your main reason for gardening. Then adjust it for the light, wind, building rules and mature size of the plants you plan to grow.
Measure the usable balcony, not just the floor
Start with a tape measure and a quick sketch. Record the overall length and depth, then mark the areas that cannot become garden space:
- The full swing or sliding path of the balcony door
- The route from the door to the railing or emergency exit
- Floor drains and any required access panels
- Air-conditioning equipment and ventilation openings
- Space needed to turn and carry a filled watering can
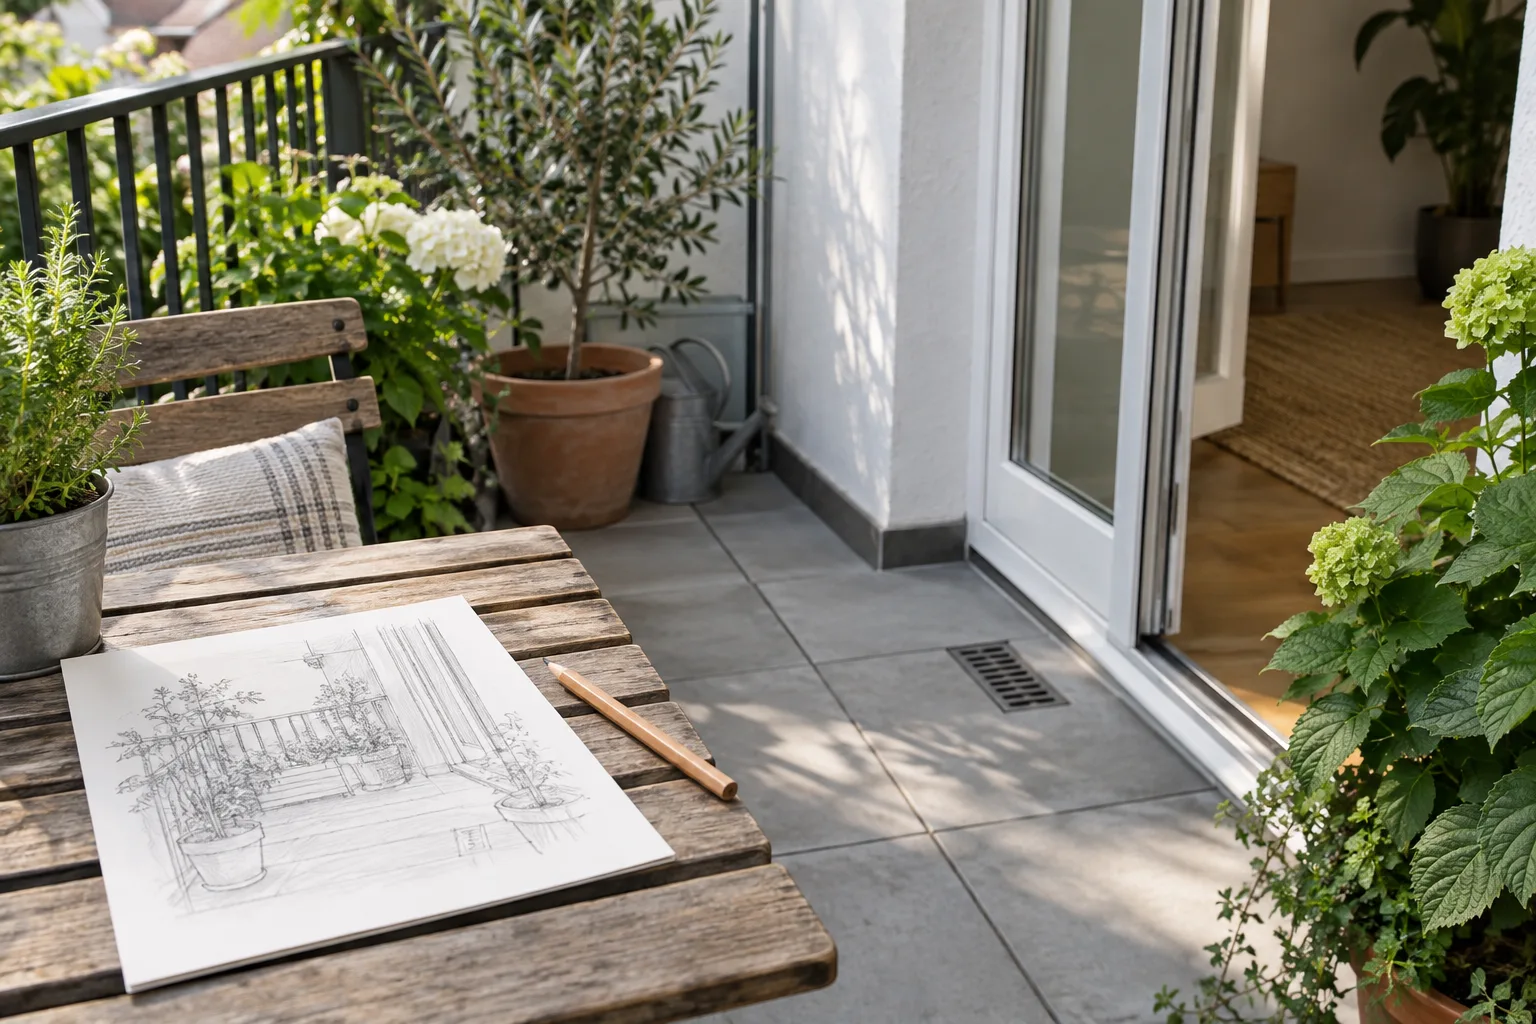
Your lease, strata rules and local requirements take priority. As a practical planning check, try to preserve a continuous path roughly 60 to 75 cm wide where the balcony allows it. If that is impossible, reduce the number or depth of containers rather than accepting an obstacle course.
Measure the pots too. A container advertised as 30 cm wide may be wider at the rim, and a saucer can add several centimeters. Add the mature spread of the plant, not only the pot diameter. A tomato in a 35 cm pot may occupy twice that width by midsummer.
Layout 1: the single-wall garden
Best for: long, narrow balconies about 90 to 120 cm deep.
Place the entire garden against the building wall and leave the railing side open as the walking route. Use one or two medium floor pots, then add a stable two-tier stand for small herbs and flowers. Keep the stand below railing height on an exposed balcony and place its heaviest pots on the lowest shelf.
This layout is simple to water because every plant is reached from the same side. It also keeps weight closer to the building rather than concentrating it along the outer edge. The trade-off is light: a wall can shade low shelves. Put sun-loving plants on top and shade-tolerant herbs or leafy greens below.
Layout 2: one planted end zone
Best for: balconies where the door opens near one end or where you want a small place to sit.
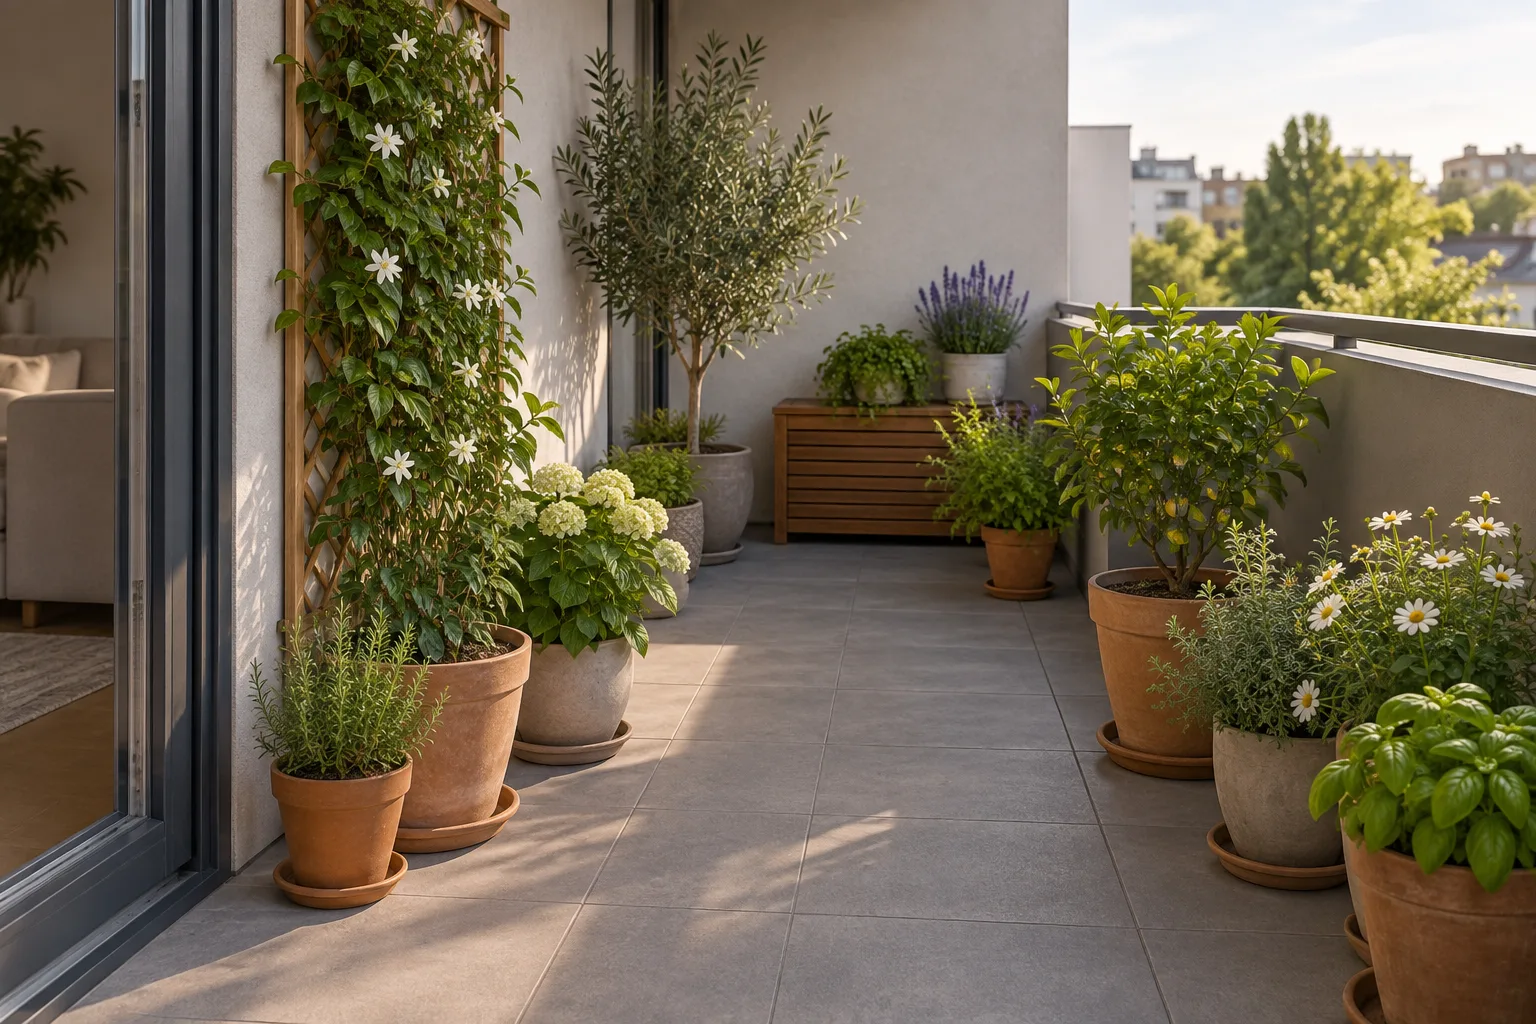
Concentrate the garden in the far third of the balcony instead of lining both long edges with pots. A low rectangular planter, two medium pots and a compact stand create a distinct planted end without narrowing the full length of the balcony.
The grouping reads as one garden rather than scattered storage. It is also easier to protect from wind with a permitted, freestanding screen placed on the inside of the railing. Keep the screen securely based and below any height prohibited by your building. Never improvise a sail-like panel on an exposed upper floor. If screening is the goal, compare the privacy plants suited to stable balcony planters.
Layout 3: the open-center U
Best for: square or moderately deep balconies where plants are the main use.
Arrange shallow containers along three edges while leaving the center and doorway open. This gives you more growing frontage than a single wall, but it only works when the pots are narrow enough to preserve a real central path.
Use the U selectively: one deep pot for a tomato or compact shrub, several smaller herb pots and a low trough for greens. Do not fill every centimeter. Leave gaps for air circulation, access to saucers and the mature spread of foliage. If you cannot reach the back of a plant without leaning over another pot, the layout is too dense.
Layout 4: the productive corner
Best for: growing a few edible plants while keeping most of the balcony flexible.
Choose the brightest corner and build a small edible cluster around it. Put the largest crop, such as a patio tomato, in the corner nearest the wall. Set a pepper or compact bean beside it, then place basil, parsley or chives in smaller pots at the front where they are easy to harvest.
Plants in the same cluster should have similar light and watering needs. A Mediterranean herb that prefers to dry slightly between waterings does not belong in the same container as thirsty basil. Separate pots can still look unified if they repeat one color or material.
Layout 5: the movable seasonal garden
Best for: renters, windy balconies and spaces used differently through the week.
Build the garden from two or three modules that one person can move: a low plant caddy with locking casters, a light two-tier stand and a pair of handled grow bags on a waterproof tray. Keep the modules parked safely near the wall in normal use. Move them only when the floor is dry and the wind is calm.
A movable layout makes cleaning and seasonal adjustments easier, but wheels are not a substitute for stability. Lock the casters, avoid tall top-heavy plants and do not place a rolling unit where it could reach the railing in a gust.
Choose the layout by what the balcony must do
| Main need | Best starting layout | Watch for |
|---|---|---|
| Maximum walking room | Single wall | Shade on lower shelves |
| A defined garden plus open space | Planted end zone | Too much weight in one cluster |
| More plants on a square balcony | Open-center U | Narrowing the central path |
| Tomatoes, peppers and herbs | Productive corner | Mixing incompatible watering needs |
| Flexible rental setup | Movable modules | Unlocked wheels and top-heavy stands |
Build upward carefully
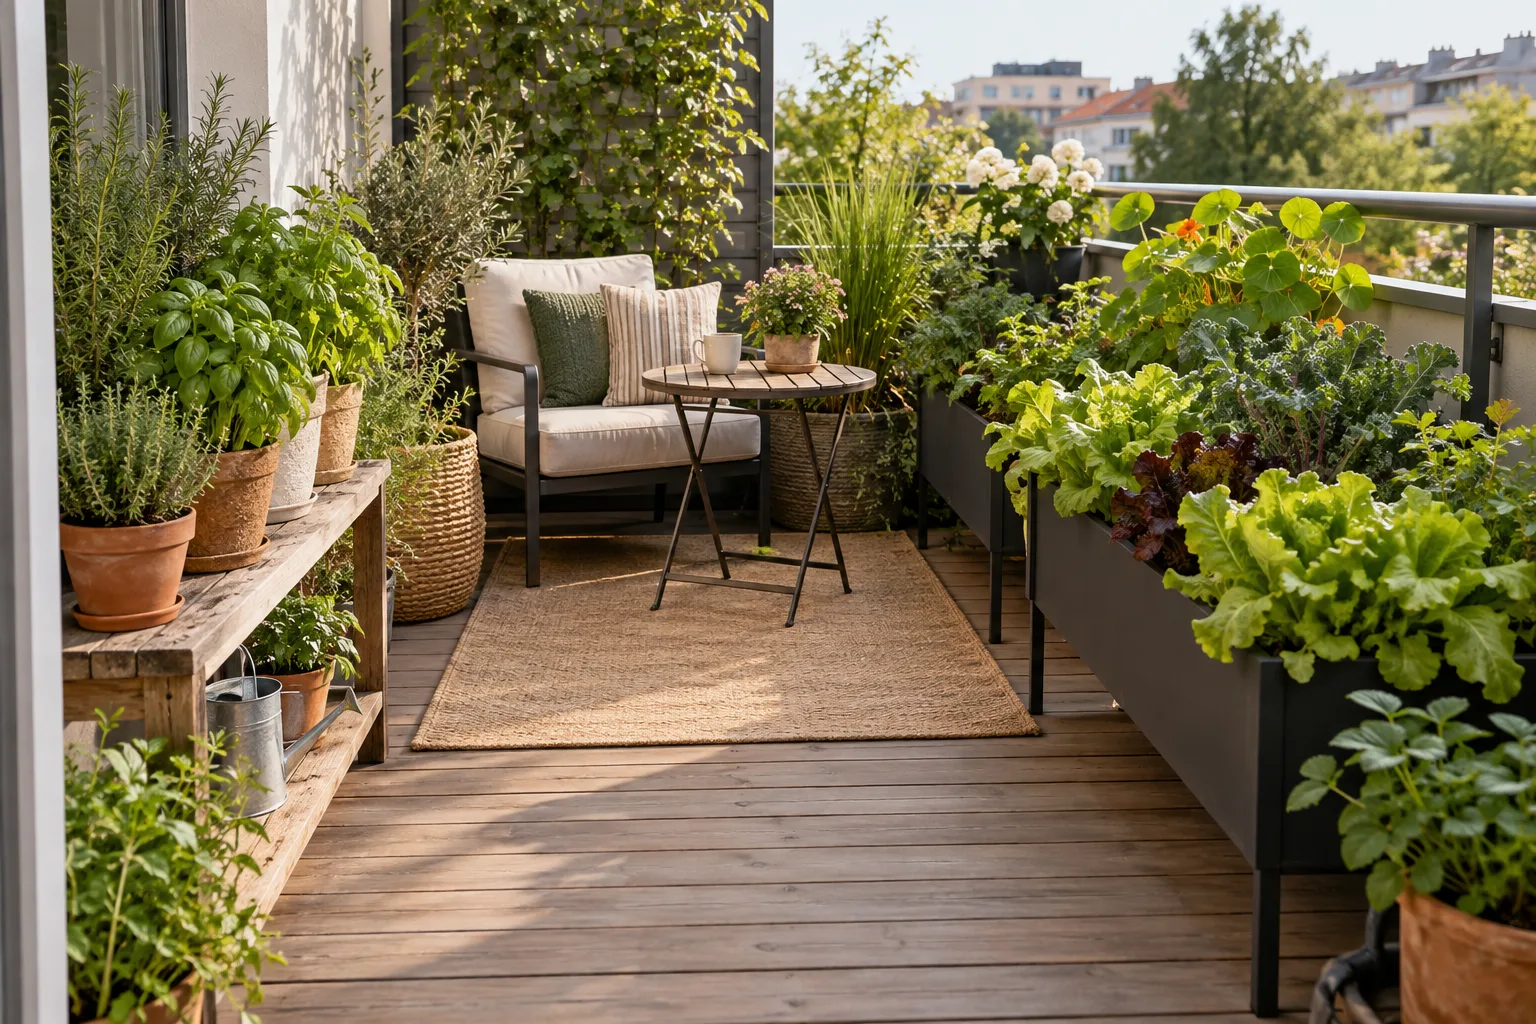
A plant stand can double or triple the useful growing area of one patch of floor, but height changes the wind load. Choose a freestanding stand with a wide base, keep heavy pots low and place it against the building wall. A tall narrow shelf loaded at the top is not appropriate for an exposed balcony.
Do not hang pots outside the railing or rely on friction hooks. If your building permits railing planters, keep them on the inside and use hardware designed and locked for the exact railing. The safer default is a floor planter or wall-side stand.
Control visual clutter with repetition
You do not need a matching set. Repeat two or three simple elements: a limited pot palette, one foliage color and one container shape. For example, grey resin pots, dark fabric grow bags and one terracotta accent can look coherent without hiding the practical differences between those materials.
Group small pots on a tray rather than scattering them across the floor. The tray makes watering neater, turns several items into one visual unit and helps protect neighbors below. Empty standing water after irrigation or rain.
A 15-minute layout test before planting
- Mark the proposed pot footprints with removable painter’s tape or pieces of paper.
- Open and close the balcony door completely.
- Walk the route while carrying a full watering can.
- Crouch where each saucer and drain will need cleaning.
- Imagine every plant at mature width, not seedling size.
- Remove at least one pot from any area that already feels tight.
Only after the floor test works should you choose plants. If you have not measured your direct light yet, use the one-day balcony sunlight test. Then check the balcony container size guide before buying pots, because a good layout still fails when the roots do not have enough soil.
The simplest layout is usually the best first layout
For a first season, start with the single-wall or planted-end layout and four to six containers. Live with it for two weeks before adding anything. You will quickly learn where water collects, which corner catches wind and which plants you can reach without moving another pot. Then use the guide to making a balcony garden look full without overcrowding before adding another layer.
A balcony garden should be easy to use on an ordinary weekday, not only attractive in a photograph. Keep the path open, keep the containers movable and let each new plant earn its space.
Choose what fills the layout
Select plants by condition with the balcony plant framework, and keep the result open with the full-but-not-crowded method.
Choose one constraint before choosing a layout
Start with the condition that cannot bend. It may be a door that must open fully, a narrow path to the railing, a building rule about planters, a windy corner, or a weight limit you need to confirm. Put that constraint on paper first. Then arrange the rest of the layout around it.
A useful renter layout has three zones: a protected zone near the building wall for the heaviest containers, a working zone with enough space to water and harvest, and a light zone for smaller pots or a folding chair. If a layout only works when every pot stays perfectly still, it will become frustrating the first time you need to sweep, bring plants inside, or reach a drain.
Test the plan with empty pots, cardboard circles, or painter’s tape before buying containers. Walk through it while carrying a watering can. Check the door swing and make sure nothing can slide or tip toward the railing. The layout that leaves a little open floor often feels fuller because the plants have room to read as groups instead of becoming one crowded object.
Sources
- Pinterest Spring Trend Report 2026; current balcony-makeover and small-space interest
- University of Minnesota Extension: Container gardening for small spaces
- Utah State University Extension: Container size, spacing and layered design