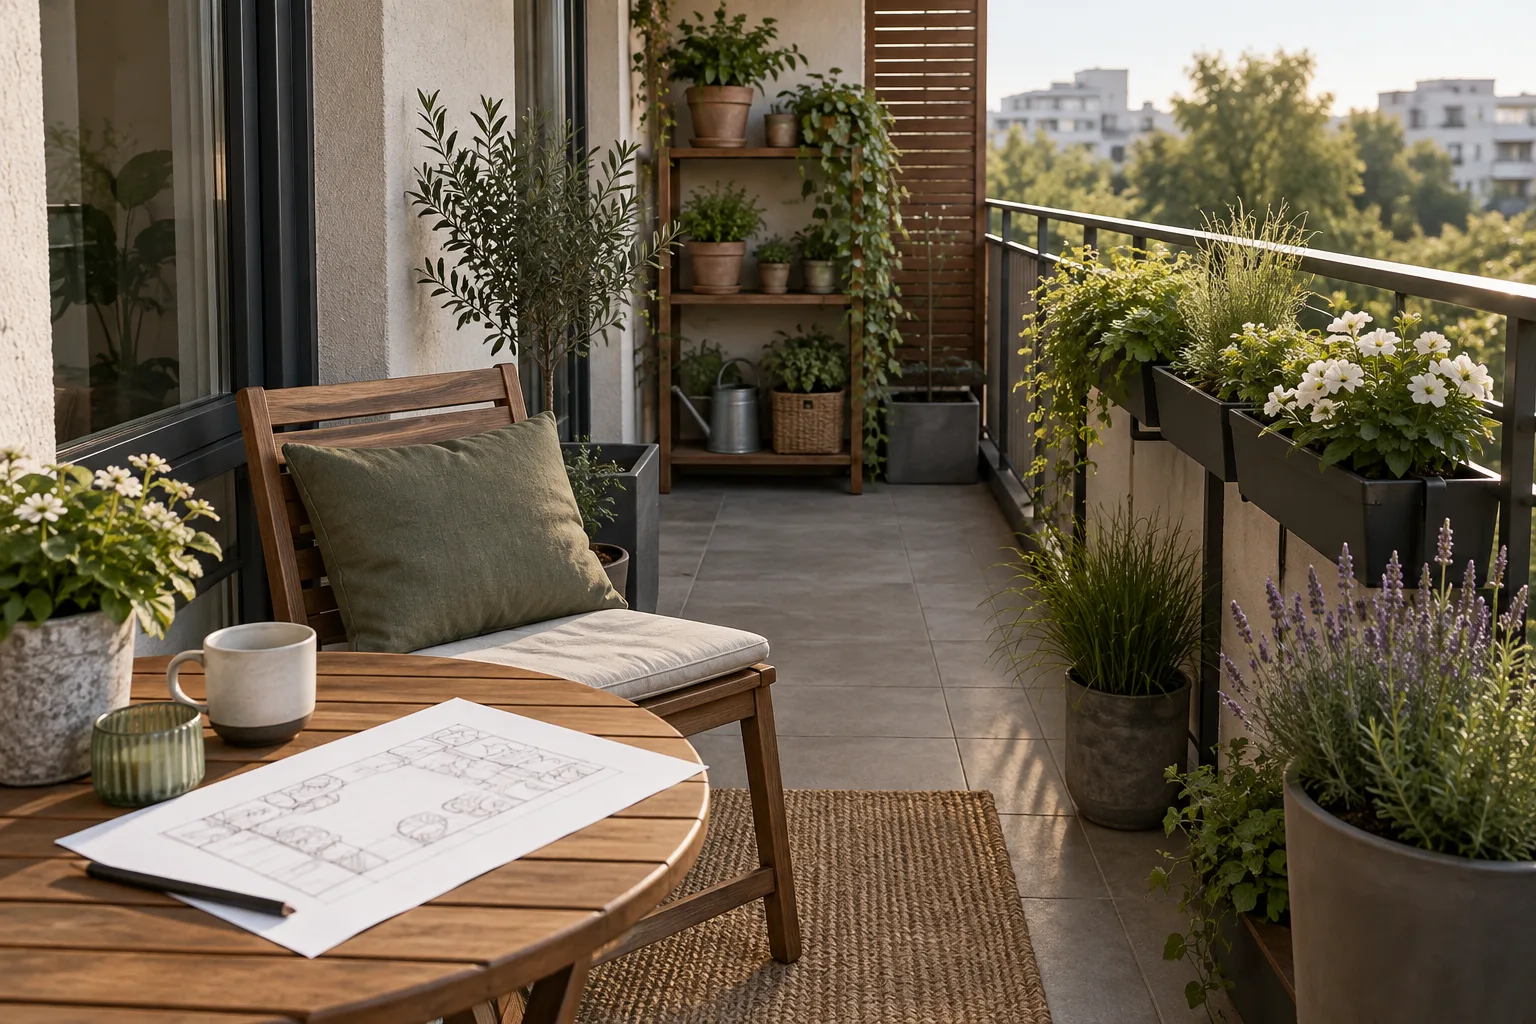
Most balcony gardens get planned the way most impulse purchases happen: one plant catches your eye at the garden center, then another, until the balcony is full of individually nice choices that don’t work together as a space. Planning a layout first, before buying anything, is the difference between a balcony that accumulates plants and one that’s properly designed. It doesn’t take long, and it saves you from the common experience of running out of usable floor space halfway through a season you didn’t plan for, or worse, watching a plant you love get squeezed into a spot it never had a real chance in.
Here’s a process that works whether you’re starting completely from scratch or replanning a balcony that’s grown a little chaotic.
Step 1: Measure before you plan anything
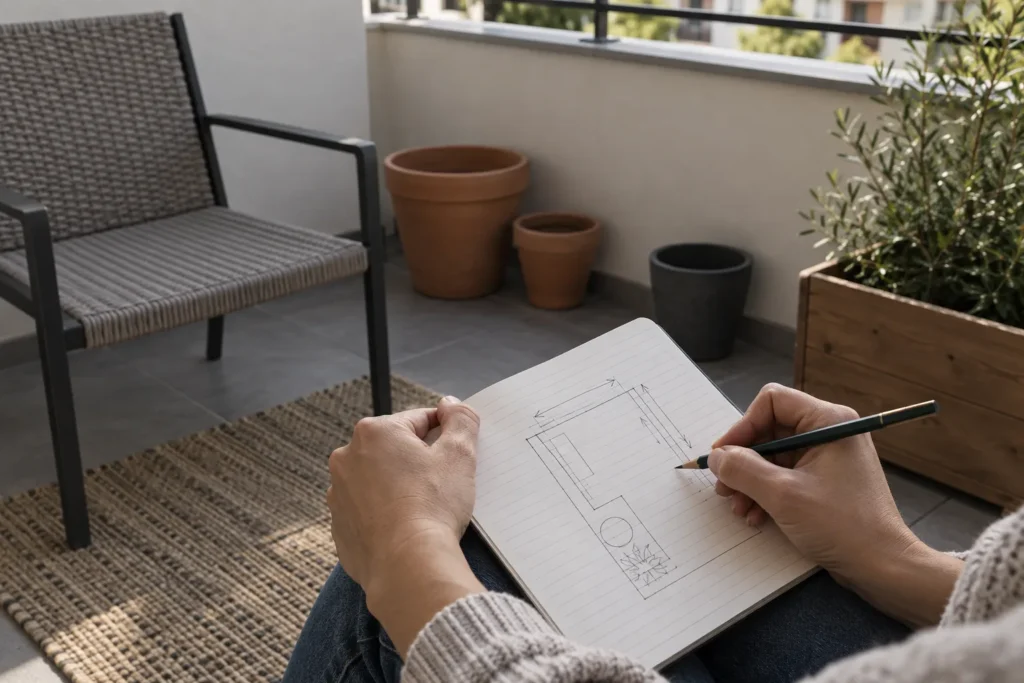
Get the real dimensions of your balcony, length, width, railing height, and the width of any door or opening you’ll be carrying pots and furniture through, and write them down instead of trusting your memory of the space later. Note any weight restrictions from your lease or building rules while you’re at it. This step feels tedious compared to the fun part of picking plants, but it prevents the single most common layout mistake: buying furniture or large pots that technically don’t fit through the door, or that leave no usable floor space once they’re in place.
The three things people forget to measure around
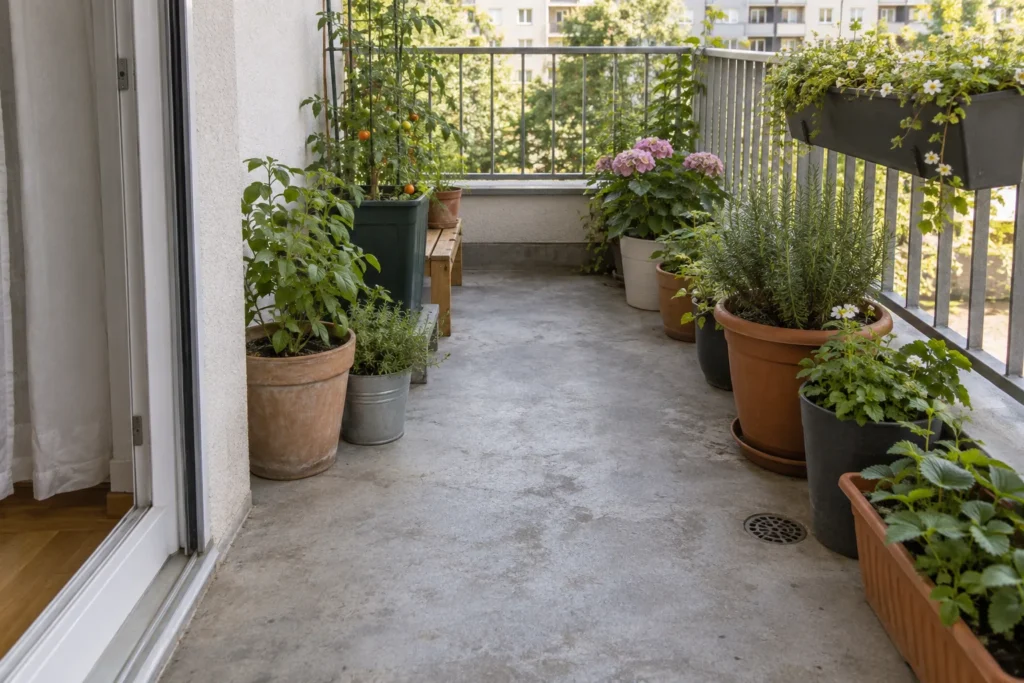
Beyond the balcony’s basic dimensions, three specific fixtures get overlooked at the planning stage more than anything else, and all three are much easier to design around from the start than to work around after everything is already in place. The door itself is the first: note whether it’s a sliding door running on a track or a hinged door that swings outward, and how far. A swinging door needs its full arc left completely clear of pots and furniture, not just the doorway itself, while a sliding door needs its track unobstructed but doesn’t eat into floor space the way a swinging door’s arc does, a real difference worth confirming before deciding how close furniture can sit to the doorway.
The second is your balcony’s floor drain, if it has one, usually a small grate set into a corner or low point in the floor. It needs to stay reachable and unblocked by furniture legs or a row of pots pushed up against it, since a drain you can’t get to for a quick check is a drain you won’t notice has clogged until water is already pooling somewhere it shouldn’t be. The third is any outdoor electrical outlet, relevant if string lights, a small water feature, or anything else in your plan needs power; noting its location on your sketch alongside the light zones from step 3 avoids discovering later that your ideal spot for evening lighting is nowhere near an outlet and would need an unsightly extension cord run across the walking path to reach one.
Step 2: Decide what the space is really for
A balcony meant mainly for growing food needs a different layout than one meant mainly for sitting outside with a garden as the backdrop. Be honest about which one describes what you really want, since a layout optimized for maximum growing space and one optimized for a comfortable place to sit pull in different directions, and trying to fully satisfy both usually means fully satisfying neither. Most balconies land somewhere in between, but naming a primary purpose gives you a tiebreaker when a layout decision could go either way.
Step 3: Map your light before you map your plants
Plant placement should follow light, not the other way around. Spend a day, or recall a recent one, tracking which parts of the balcony get direct sun and for how long; our guide to measuring balcony sunlight covers this in detail if you haven’t done it yet. Sketch your balcony’s footprint on paper and mark the sunny zones, shaded zones, and anything in between, before you decide where any specific plant, pot, or piece of furniture finally goes.
Step 4: Claim the walking and sitting space first
On your sketch, block out the footprint of any seating or table, plus enough clearance to walk around it without brushing past pots on every trip. This space is non-negotiable and should be locked in before a single plant gets placed, since it’s much easier to fit plants around a fixed seating area than to discover afterward that furniture and plants are competing for the same square footage. If your balcony is small enough that seating and planting truly can’t both fit comfortably, our guide to small balcony garden layouts for renters covers layout patterns built specifically around that tension.
Step 5: Assign zones, then plants, not the reverse
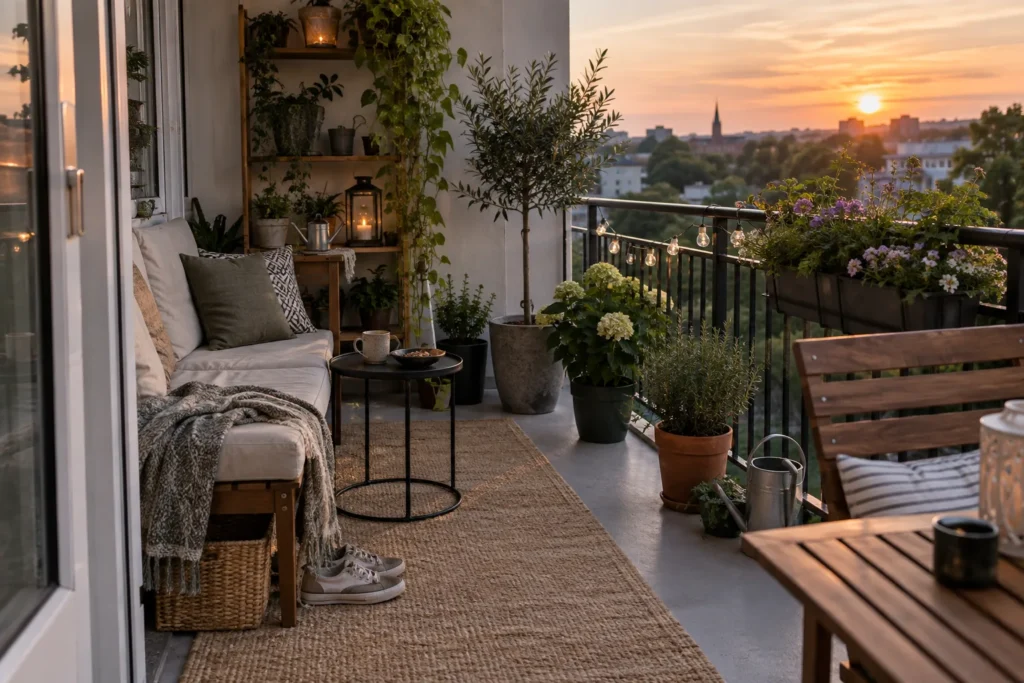
With light mapped and seating space claimed, divide what’s left into a small number of zones, sunny-and-tall, shaded-and-low, a vertical zone along a railing, instead of jumping straight to individual plant choices. Only once the zones exist should you start assigning specific plants to them, matching each zone’s real light and space to what a plant needs instead of buying a plant first and hunting for somewhere to put it afterward. This single reordering, zones before plants, is what separates a planned layout from an accumulated one.
Step 6: Build in vertical space on purpose
Before finalizing the plan, look at your sketch and check whether you’ve used any vertical space, railings, walls, hanging points, or whether everything is sitting at floor level. A layout planned only in two dimensions leaves real growing capacity unused. Our guide to vertical gardening on a small balcony covers the specific hardware and plant choices that fill this dimension in without adding to your floor footprint.
Step 7: Leave room you haven’t planned for yet
Resist the urge to fill every square inch of your plan on the first pass. A layout with zero slack gets uncomfortable fast the moment you want to try a new plant, add a seasonal decor piece, or discover a plant is bigger than expected once it matures. Leaving one small zone deliberately open, even just enough for a single extra pot, gives you room to adjust without immediately feeling overcrowded, a problem covered in more depth in our guide to keeping a balcony garden from looking overcrowded.
Planning around your balcony’s actual shape
A long, narrow “galley” balcony, a wider shallow one, and an L-shaped or corner balcony each push toward a different layout even with identical square footage. A narrow galley shape usually works best with everything pushed to one long side, keeping a clear path down the other, instead of furniture stuck in the middle forcing you to squeeze past on both sides. A wider, shallower balcony has more flexibility to place seating away from the railing entirely, with plants framing the edge instead. A corner or L-shaped balcony often has one section that gets noticeably different light than the other, which usually makes the natural zone divisions in step 5 fairly obvious once you’ve measured and mapped the space properly.
Planning for privacy and sightlines
If your balcony faces a neighboring building, a shared courtyard, or another unit’s balcony at close range, decide early in the planning process whether privacy is a priority, since it affects where taller elements go. A tall plant, trellis, or screen placed along the specific sightline that bothers you does more good there than scattered decoratively around the whole perimeter. Our guide to privacy plants for balcony railings covers plant options sized and shaped for exactly this purpose, and it’s worth deciding on privacy placement in step 5 alongside your other zones, not tacking it on as an afterthought once the rest of the layout is already set.
A simple planning worksheet
- Measured dimensions, door width, and any weight limits: recorded
- Primary purpose (growing, sitting, or a mix): decided
- Sun and shade zones: mapped on paper
- Seating and walking footprint: claimed first, before plants
- Remaining space divided into a small number of zones
- At least one vertical element included
- One zone left intentionally open
Replanning a balcony that already exists
This process works just as well as a mid-course correction as it does for a truly empty balcony, with one extra first step: take everything movable off the balcony before you start measuring and mapping. It’s much harder to see a space’s real potential, and its real light patterns, with a season’s worth of accumulated pots already sitting in the way. Once the space is empty and you’ve worked through the steps above on a blank slate, bring plants back one at a time according to the new zone plan instead of simply returning everything to where it happened to be sitting before. Some plants from the old arrangement won’t have an obvious place in the new one; that’s a normal, expected outcome of an honest replan, not a sign you did something wrong, and it’s a fine moment to give away or compost anything that was underperforming anyway.
Common layout planning mistakes
- Buying plants before mapping light. A beautiful sun-loving plant bought on impulse and placed in a shaded corner was never going to work, regardless of how good the layout otherwise is.
- Planning entirely in two dimensions and never considering railings, walls, or hanging space until the floor is already full.
- Skipping the measuring step and discovering later that a piece of furniture doesn’t fit through the door, or that a row of large pots leaves no walking space at all.
- Designing for a maximalist ideal instead of the time you actually have; a layout that demands more daily maintenance than you’ll realistically give it declines fast no matter how well it was planned on paper.
- Replanning around existing pots without moving them first. It’s much harder to judge a space’s real potential with last season’s arrangement still physically in the way.
From plan to reality
Once the layout exists on paper, our guide to starting a balcony garden picks up from there with the practical first steps, checking your building’s rules, choosing your first containers, and picking plants that are properly hard to kill while you’re still learning your balcony’s specific conditions. A good plan on paper is only worth something once it’s really built, and that’s a much easier next step once you’ve done the harder work of deciding what goes where and why.