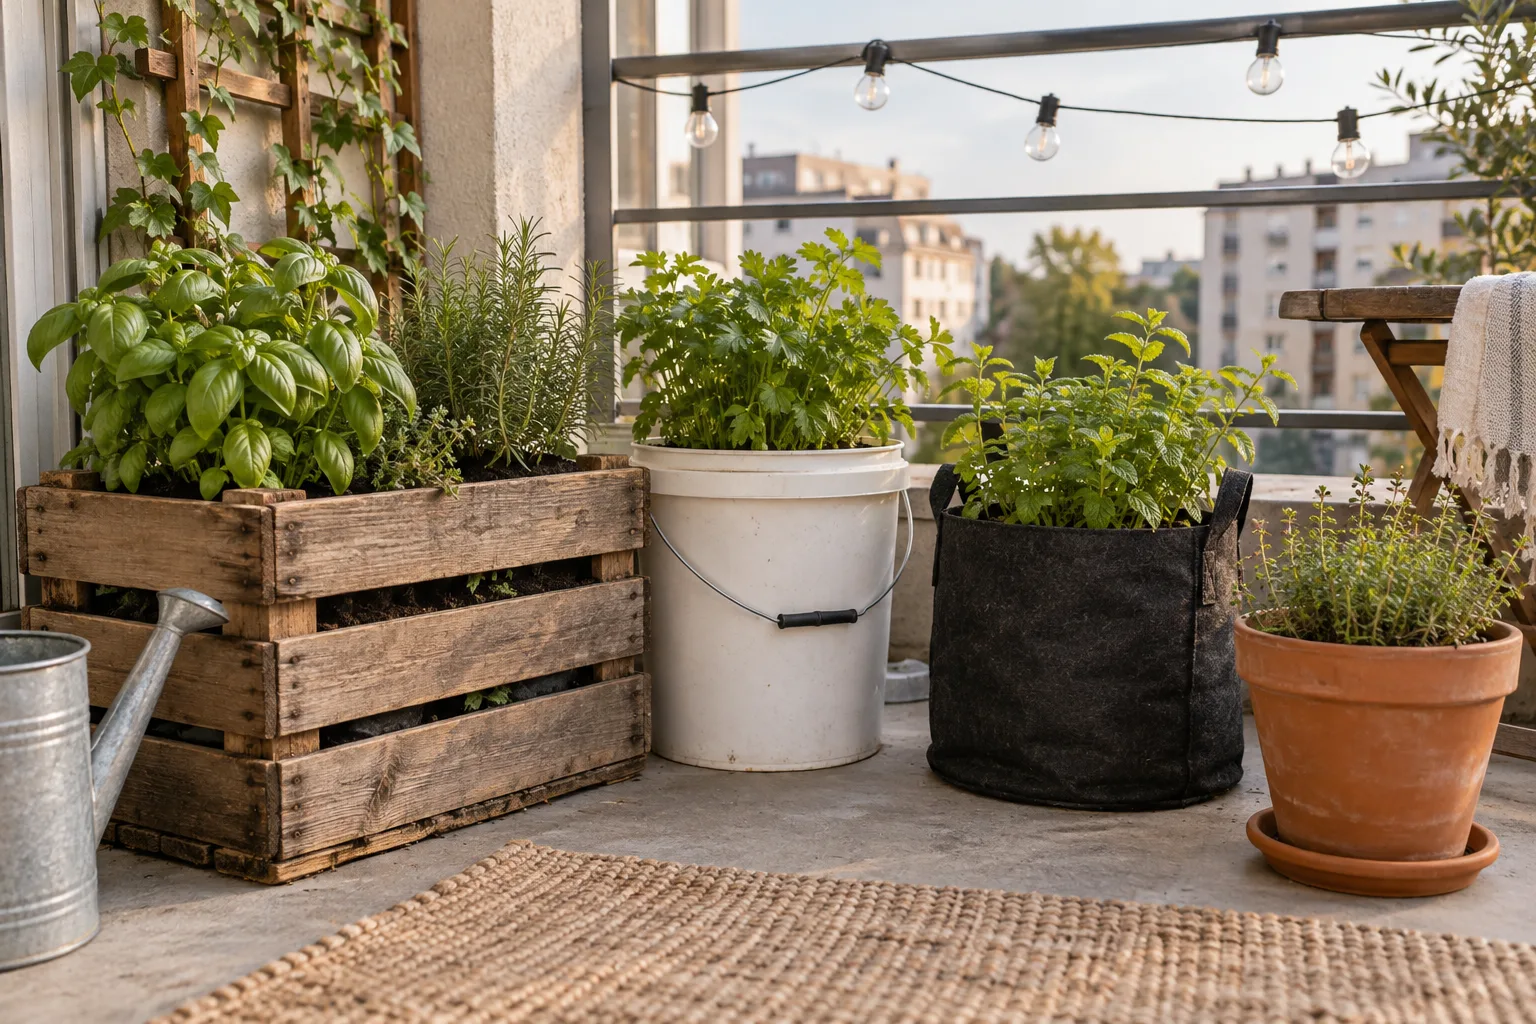
A balcony’s worth of matching store-bought pots costs real money fast, and it’s not the only option. Plenty of household items and cheap raw materials make perfectly functional planters once you solve one problem, drainage, that most everyday containers weren’t designed with in mind, and there’s a particular satisfaction in a thriving tomato plant that started life as a bucket someone else was throwing away. Here are six approachable projects, ranging from truly zero-cost to a small weekend build, each solving that drainage question in its own particular way.
The one rule that applies to every project here
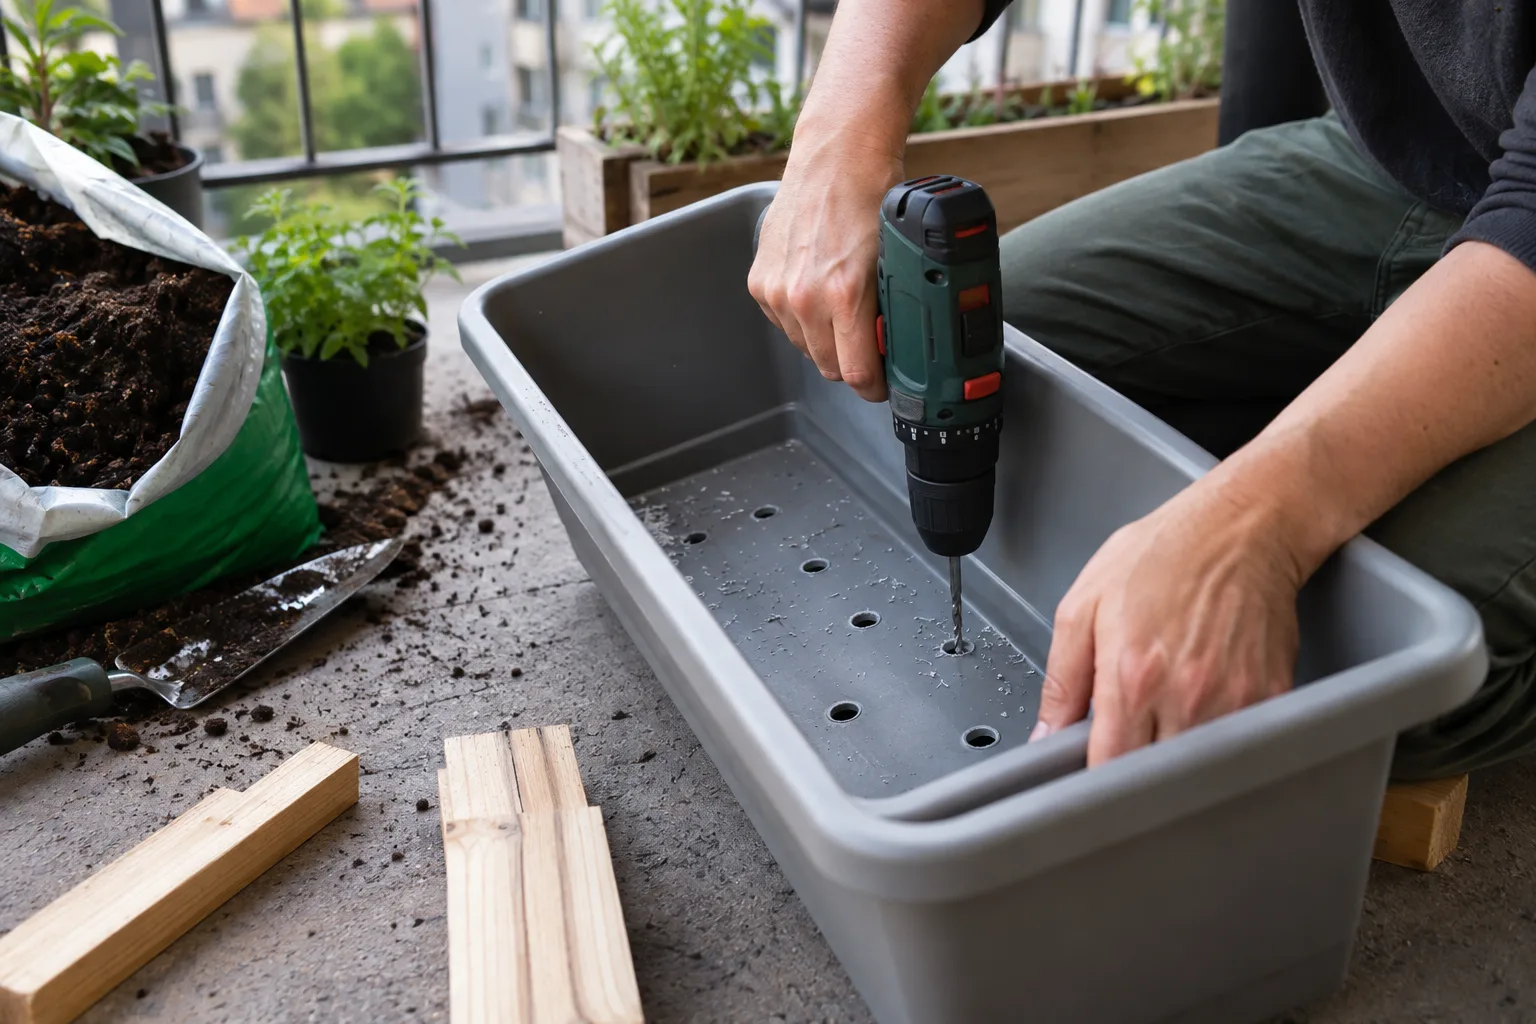
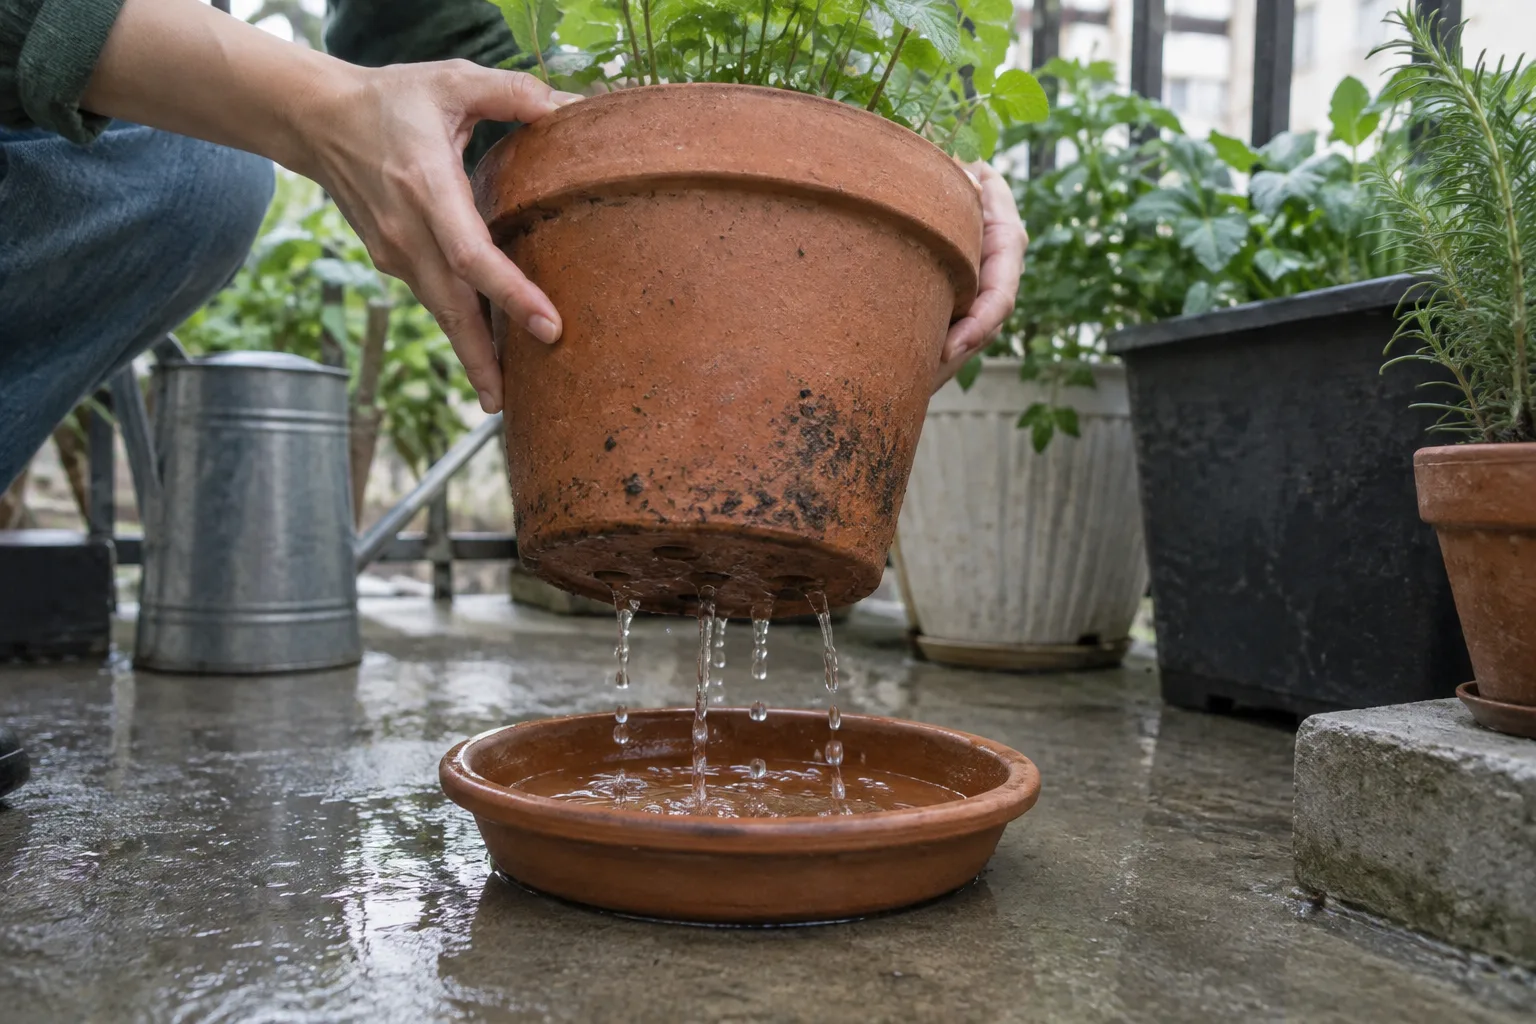
Whatever you’re repurposing, it needs a way for excess water to leave. If the container doesn’t already have holes, drill or punch several in the bottom before anything goes in it, plastic and thin metal drill easily with a standard bit, and even a sturdy container without any realistic way to add drainage can still work as a decorative outer shell around a properly drained nursery pot placed inside it. Skipping this step is, by a wide margin, the single most common reason a DIY planter fails a plant that would otherwise have done perfectly fine in a proper store-bought pot.
Project 1: Five-gallon buckets
Food-grade five-gallon buckets, often free from restaurants or bakeries that go through them in bulk and are usually happy to give away empties, make surprisingly good planters for anything that needs real depth: tomatoes, peppers, potatoes. Drill six to eight holes in the bottom with a half-inch bit, spaced evenly instead of clustered in the center. If you want them to look less like a bucket, a coat of exterior spray paint in a flat finish, or simply nesting the bucket inside a nicer basket or woven sleeve, hides the utilitarian look without any real building involved.
Project 2: Wooden crates and boxes
Wooden produce crates, wine crates, or any sturdy wooden box work well for shallow-rooted plants like lettuce, herbs, or a row of flowers, as long as the wood gaps are small enough to hold soil in, or you line the inside with landscape fabric or a cut-open feed bag to keep soil from washing through while still letting water pass. Raw untreated wood will break down faster in contact with wet soil than a lined crate will, so a liner roughly doubles how many seasons you get out of a free or cheap wooden box.
Project 3: Concrete or hypertufa planters
For a properly modern, substantial-looking planter at a fraction of retail cost, mixing your own concrete or hypertufa, a lightweight concrete-and-peat blend, poured into a mold, produces a heavy, weatherproof planter that looks intentional, not repurposed. Use two nested containers as a mold, a larger one for the outer shape and a smaller one pressed into the wet mix to form the interior cavity, and push a few dowels or a greased bolt through the base before it sets to leave drainage holes once removed. This is the most involved project here, realistically a full afternoon plus a curing period of several days, but it produces a planter that would cost significantly more bought retail.
Fresh Portland cement is caustic before it cures, so wear gloves while mixing and molding, a precaution Oregon State University Extension calls out directly in its own hypertufa instructions. That same freshly cured mix stays a problem for plants even after it’s safe to touch, since newly set cement leaches lime into the soil around it, raising pH past what most container plants tolerate. Beyond the three to five days it takes to firm up enough to unmold, OSU Extension recommends waiting roughly a week after building the planter before adding soil or plants, giving the alkalinity time to settle out instead of leaching straight into the root zone.
Project 4: Fabric bags and totes
A sturdy canvas tote bag or a heavy-duty reusable shopping bag, cut with a handful of slits in the base for drainage, works as a wonderfully lightweight, foldable-when-empty planter, essentially a homemade version of a commercial fabric grow bag. This option suits anyone who wants to try container gardening without much upfront investment, or who needs planters light enough to move around a balcony easily, though expect a shorter usable lifespan than a purpose-built canvas grow bag, since household tote fabric usually isn’t treated for long-term outdoor UV exposure.
Project 5: Plastic bottles as a simple self-watering setup
A large plastic bottle or jug cut roughly in half doubles as a two-part self-watering planter: the top half, turned upside down with the cap removed and set into the bottom half filled partway with water, wicks moisture up into the soil through the neck opening. It’s a crude, small-scale version of the same principle covered in more depth in our guide to self-watering balcony planters, and it suits a small herb or a single seedling, not anything that needs real root room. Poke a few holes around the neck before filling with soil so the wicking action has more surface area to work with, and expect to refill the reservoir every few days instead of the week or more a proper commercial reservoir planter can go.
Project 6: Baskets and colanders
A metal or plastic colander already has drainage built in, which makes it one of the least fussy repurposed containers on this list; the holes are just usually larger and more numerous than a standard pot’s, so line the inside with a layer of coconut coir, sphagnum moss, or a cut piece of weed barrier fabric before adding soil to keep it from washing straight through. Wire or wicker baskets work the same way with a similar liner, and both make a surprisingly attractive hanging or railing planter once lined and filled, closer in look to a purpose-bought hanging basket than most other items on this list, at a fraction of the retail price.
Finishing touches that make a repurposed planter look intentional
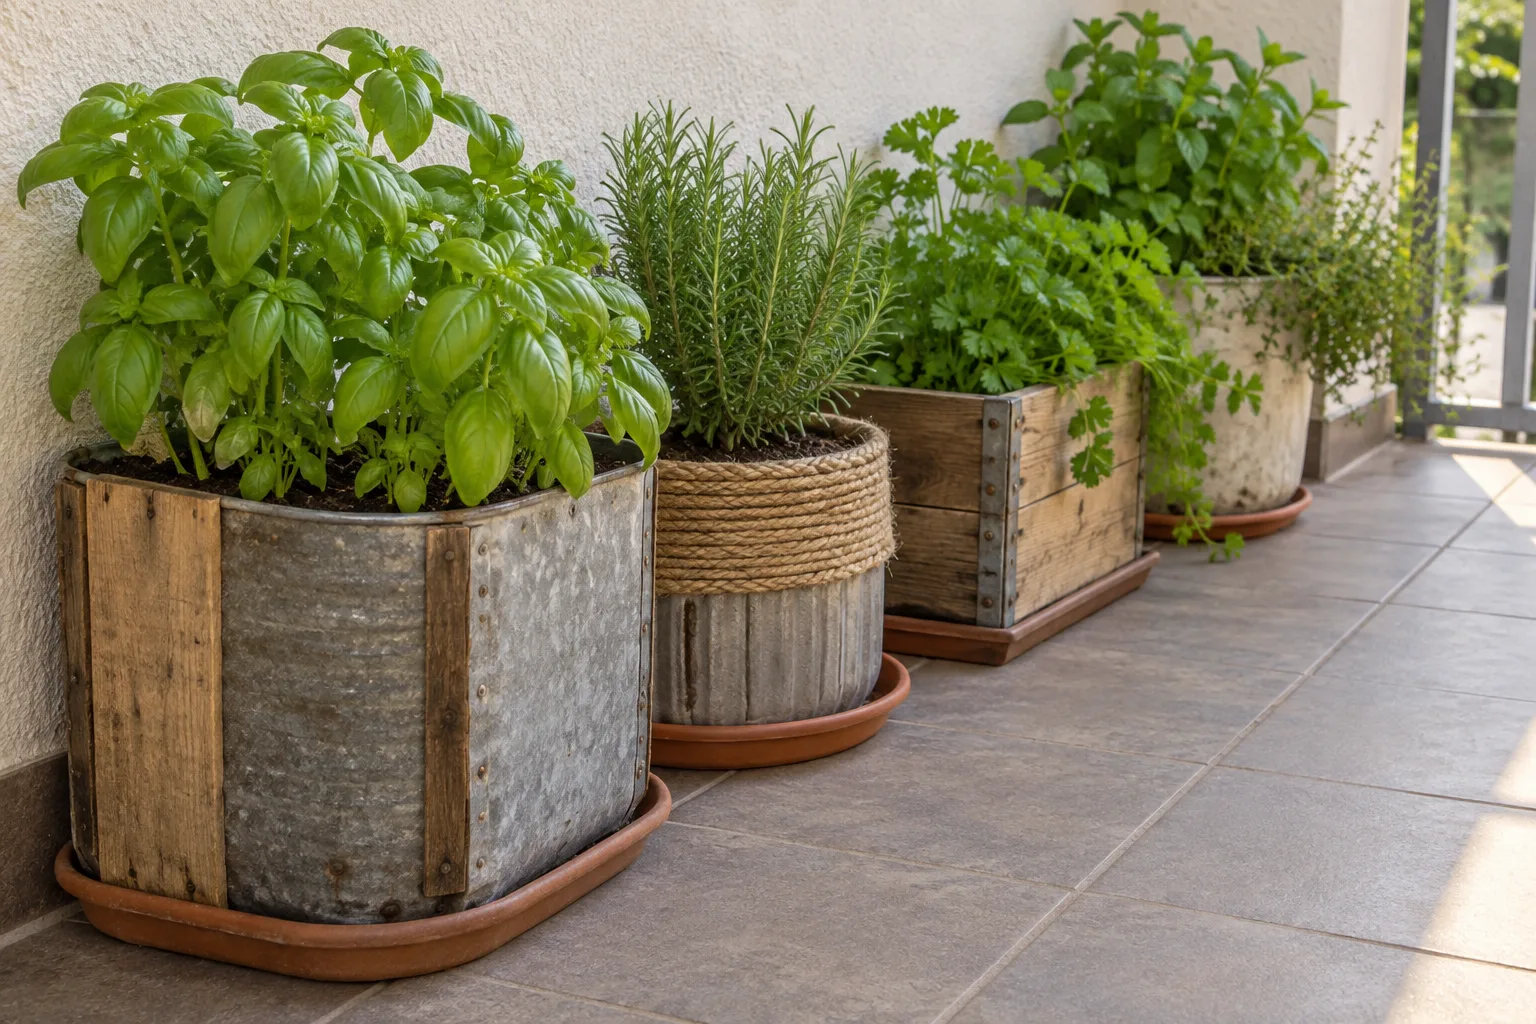
The line between “upcycled” and “obviously trash” often comes down to a few small finishing choices. A single coat of exterior-rated spray paint in a matte, cohesive color, matching whatever palette the rest of your balcony already uses, does more for a repurposed container’s look than almost anything else on this list. Grouping two or three different repurposed materials together, instead of scattering one of each type around the balcony, also reads as a deliberate mixed-material choice, not a random collection of whatever was on hand. If your balcony already has an established palette, our guide to styling a small balcony covers the material and color repetition that ties a mixed collection of containers, DIY or store-bought, into one cohesive look.
Matching the project to the plant
| Project | Best for | Effort |
|---|---|---|
| Five-gallon bucket | Deep-rooted vegetables | Low |
| Wooden crate | Shallow-rooted herbs, lettuce, flowers | Low to medium |
| Concrete/hypertufa | Anything, decorative focus | High |
| Fabric tote | Lightweight, temporary setups | Low |
| Plastic bottle | A single small herb or seedling | Low |
| Basket or colander | Hanging or railing displays | Low |
What to avoid repurposing
- Containers that held chemicals, pesticides, or automotive products, even if thoroughly cleaned. Residue can leach into soil and be taken up by plants, a real risk for anything you intend to eat.
- Anything galvanized or with a painted finish not rated food-safe, if you’re growing edible plants specifically; the coating can contain substances you don’t want near food crops over a full season of soil contact.
- Containers with no realistic way to add drainage, solid metal too thick to drill easily, or anything you’re not willing to modify. Better to use a container like that purely as a decorative outer shell around a properly drained nursery pot than to force drainage into a material that actively resists it.
Weight and wind considerations
A few of these projects, buckets and crates especially, end up quite light once emptied of soil, which cuts both ways: easy to move around, but also easier for wind to tip on an exposed balcony. If you’re on a windy balcony, our guide to building a wind-resistant balcony garden covers weighting and placement strategies that apply just as much to a repurposed bucket as to a store-bought pot.
Common DIY planter mistakes
- Skipping drainage holes entirely because drilling into a repurposed item feels like it might ruin it. A container that doesn’t drain will do far more damage to whatever’s planted in it than a few drilled holes ever would to the container.
- Using a container that held anything toxic without being fully certain what it originally contained, especially relevant for found or salvaged materials, not ones you’ve used yourself.
- Leaving raw, unlined wood in constant contact with wet soil and being surprised when it rots out within a single season.
- Mixing too many unrelated repurposed materials without any unifying paint color or grouping strategy, which reads as clutter, not an intentional upcycled look.
When to buy instead of build
DIY planters shine for utility, filling out a working vegetable garden cheaply, but they’re not always the right call for the one or two focal-point containers you really want to look polished, or for a plant that needs a specific material property, terracotta’s breathability, a self-watering reservoir, that a repurposed container simply can’t replicate. Our guide to choosing balcony pots and containers covers those material tradeoffs for the spots where buying purpose-built makes more sense than building. Most balconies end up somewhere in between: a mix of a few nicer bought containers for the pieces that matter most visually, and a working row of DIY planters filling out the rest of the growing space for a fraction of the cost.
Sources
Oregon State University Extension: Craft stone-look planters with hypertufa