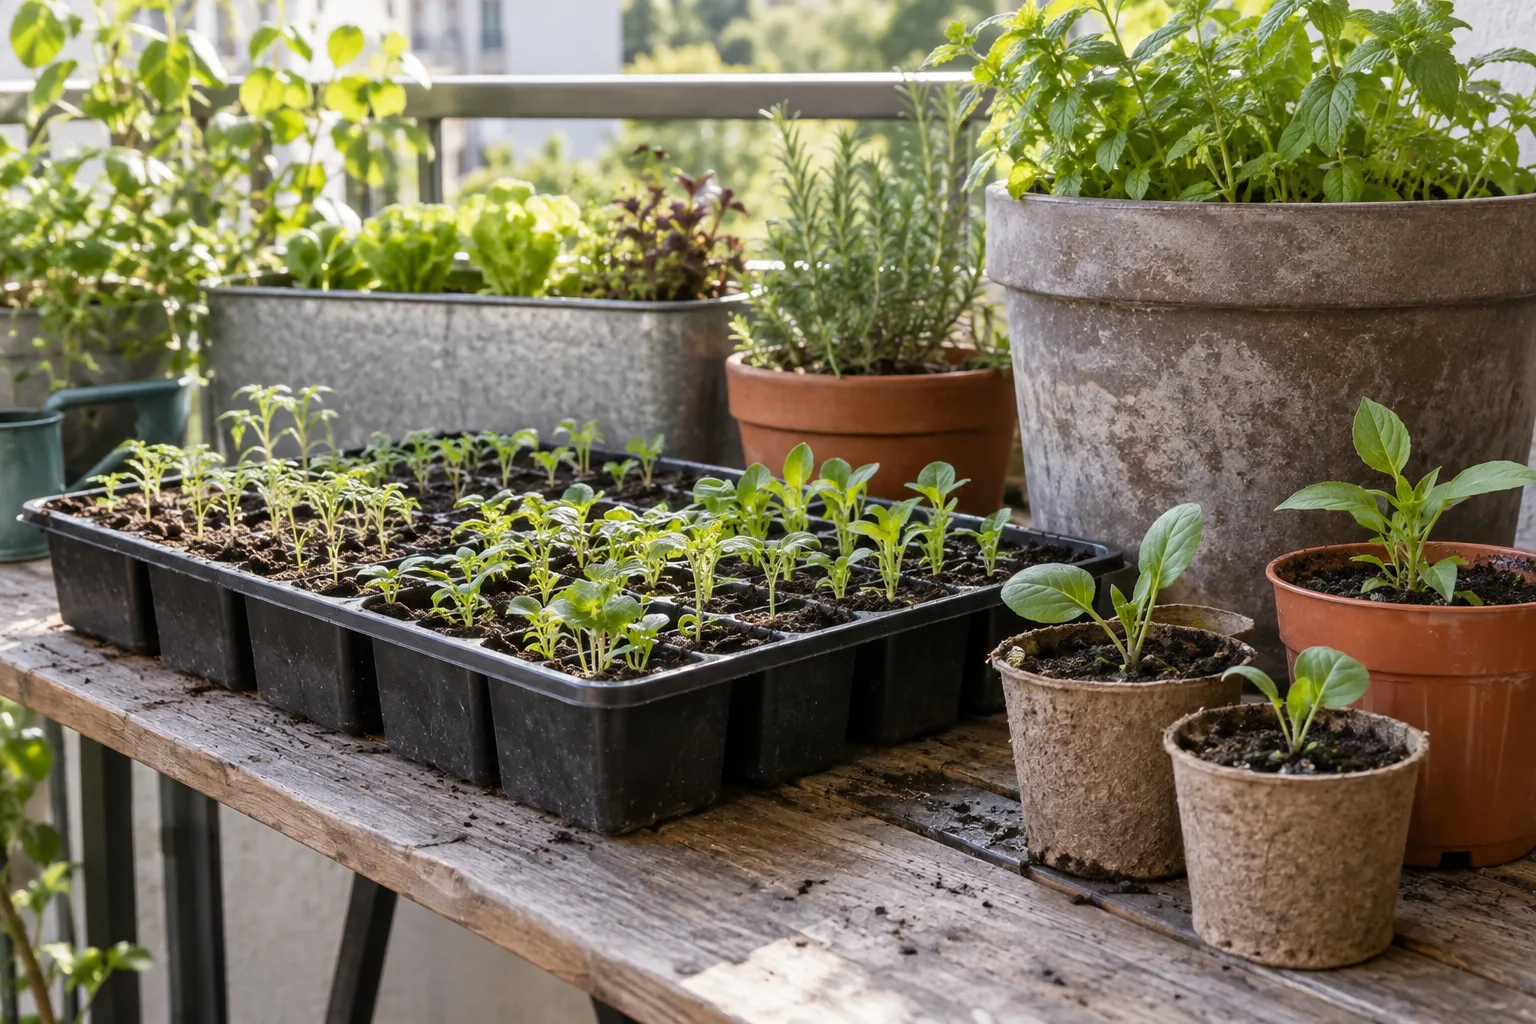
A packet of lettuce seed costs less than a single seedling from a garden center and produces dozens of plants instead of one. That math is what draws most balcony gardeners toward starting from seed, but a balcony adds a few wrinkles a backyard garden doesn’t have: no garden bed to sow directly into, limited space for trays, and a small container that punishes a seedling mistake more visibly than a large garden bed would. This guide covers the technique, timing, germination conditions, and transplanting steps that make seed starting actually work on a balcony.
This is a technique guide, not a plant list. For which crops suit a balcony’s light and space, see our guides to balcony vegetables and balcony herbs; for the full setup beyond seeds, start with how to start a balcony garden.
Choosing seeds worth starting yourself
Not every balcony crop is worth starting from seed. Fast, cheap, forgiving crops, loose-leaf lettuce, radishes, green onions, bush beans, sow directly into their final container and skip transplanting almost entirely. Slower or fussier crops, tomatoes, peppers, most flowering annuals, benefit from a head start indoors weeks before the balcony is warm enough for them outside. Check the seed packet’s days-to-maturity number against your growing season length; a balcony’s limited container space rewards picking varieties bred to stay compact, not the largest-yielding variety at the garden center.
Working out when to start
Every seed packet lists a number of weeks from sowing to transplant-out, and that number is the starting point for your calendar. Iowa State University Extension recommends counting backward from your area’s average last frost date using that packet number, since starting too early produces lanky, stretched seedlings that transplant poorly, while starting too late leaves a plant undersized when warm weather finally arrives. Cold-hardy crops like lettuce and other leafy greens can go out weeks before your last frost and need earlier seeding to match; heat-loving crops like tomatoes and peppers wait for reliably warm nights and get seeded correspondingly later.
A balcony’s own microclimate can shift this slightly. A wall or heavy reflected heat from glass can let you plant out a few days earlier than a ground-level garden in the same city; a windy, exposed, high-floor balcony often runs the opposite direction, and cold, drying wind can justify waiting a little longer or hardening seedlings off more gradually than the calendar alone suggests.
Indoor starting versus sowing straight into the container
On a balcony, “direct sowing” means sowing straight into the actual container the plant will finish its life in; there’s no garden bed to speak of. That works well for crops that dislike having their roots disturbed and for anything fast enough that a head start isn’t worth the tray space: lettuce, radishes, carrots, beans, and most greens all do well sown directly once the container’s spot is warm enough for that crop.
Starting indoors in small cells or trays makes more sense for slow-to-mature or cold-sensitive crops, tomatoes, peppers, most annual flowers, where several extra weeks of indoor growth before the balcony is warm enough adds up to a meaningfully earlier harvest or bloom. It also lets you start more seeds than you need and choose the strongest few seedlings to move into final balcony containers, culling weaker ones instead of committing scarce container space to every seed that happens to germinate.
Containers and mix for starting seeds
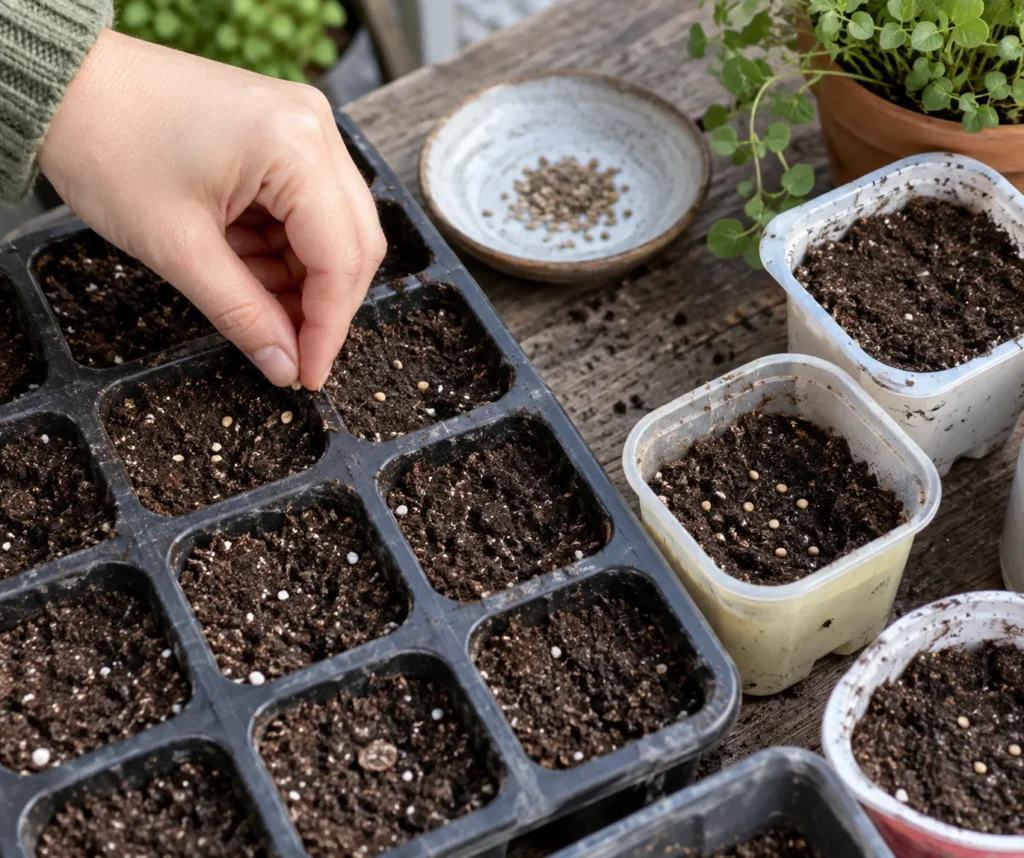
Small cell trays, individual small pots, or even repurposed yogurt cups with drainage holes punched in the bottom all work for starting seeds indoors. Use a seed-starting mix, not regular potting mix or garden soil; a dedicated seed-starting mix is lighter and finer, which lets delicate new roots push through easily and drains fast enough to avoid the wet, airless conditions that cause seedlings to rot before they even sprout. Regular potting mix, formulated for an established plant’s larger root system, is coarser than most seeds need for that first push through the surface.
Getting germination conditions right
Most seeds germinate best with soil temperature between 68 and 86°F (20 to 30°C), according to Iowa State University Extension, and the ideal growing temperature for the seedling once it’s up is about 10°F cooler than that germination range. Keep the mix moist but never soggy; seeds need oxygen to germinate and will rot in waterlogged mix just as readily as they’ll fail to sprout in mix that’s dried out. Covering the tray loosely with plastic wrap or a clear lid holds humidity in during germination, but remove that covering the moment sprouts appear so air can circulate and disease-favoring dampness doesn’t build up around young stems.
Light matters immediately once a seedling breaks the surface, not days later. University of Missouri Extension recommends bright light right from germination, either a sunny south-facing window or a grow light positioned close to the seedlings, since a seedling stretching toward weak or distant light quickly grows tall, thin, and structurally weak in a way it usually doesn’t recover from.
Watering seedlings without losing them
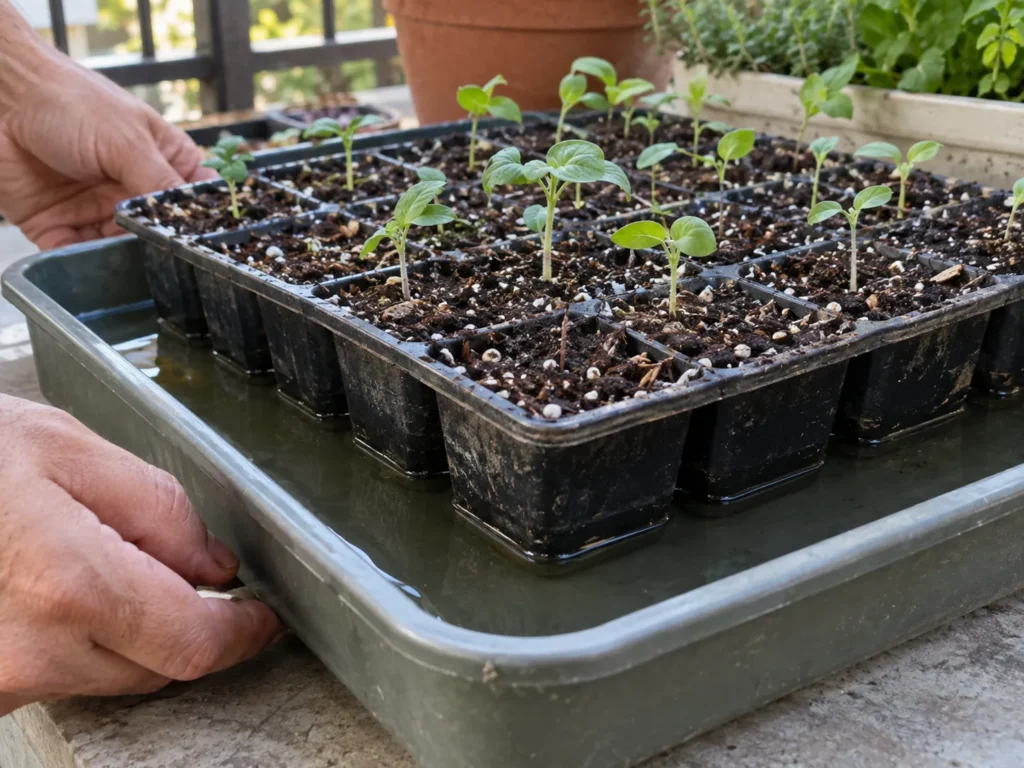
Seedlings dry out fast in a small cell of mix, but overwatering is the more common killer, showing up as damping off, a fungal problem that collapses stems right at the soil line seemingly overnight. Water from below when the tray design allows it, letting the mix wick up moisture instead of saturating the surface with every watering, and let the surface dry slightly between waterings so it’s damp, not constantly soaked. Good airflow around trays, a small fan on low, a window cracked, or simply not crowding trays together, does as much to prevent damping off as watering technique alone.
Transplanting seedlings up
Once a seedling has outgrown its starting cell, usually signaled by a full set of true leaves (the second set to appear, which look like the mature plant’s foliage rather than the rounder first leaves), move it into a larger container, generally one to two inches wider than what it’s leaving. Handle a seedling by its leaves, not its stem; a bruised leaf grows back, but a crushed stem usually kills the whole seedling. Plant it at the same depth it was growing at previously, water it in well, and give it a few days of gentler light before returning it to full sun exposure.
A seedling that’s outgrown even a mid-sized pot and needs its true final balcony container follows the same handling principles covered in more depth in our guide to repotting a balcony plant without killing it.
Hardening off before the balcony takes over
A seedling raised entirely indoors has never dealt with real wind, direct outdoor sun, or the temperature swings a balcony sees over a single day, and moving it out all at once can scorch leaves or snap stems that were never built for those conditions. Illinois Extension recommends starting the hardening-off process about two weeks before the planned move outside: begin with two to three hours outdoors during the mildest part of the day, increase the exposure gradually each day, and work up to a full day outside before leaving the seedling in its final balcony spot permanently. Ease off watering slightly and skip fertilizing during this stretch; the goal is a slightly stressed, toughened plant, not a pampered one.
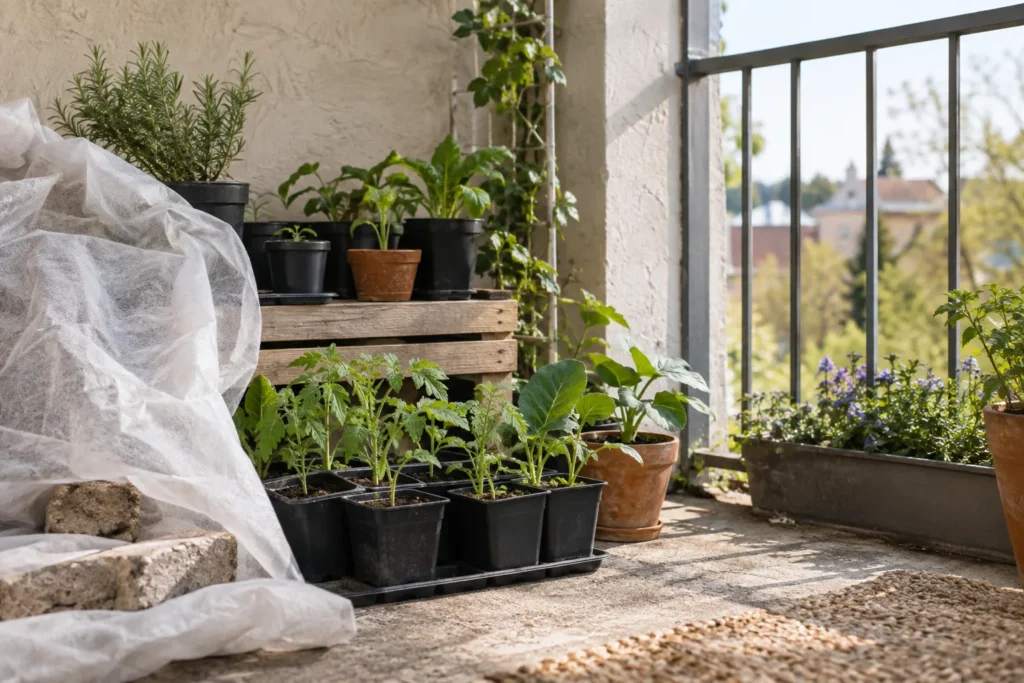
A wind-exposed or high-floor balcony deserves extra caution here. If your balcony runs consistently windy, read our guide to a wind-resistant balcony garden before moving tender seedlings out permanently; a seedling that’s only partway hardened off is exactly the kind of plant a gust can snap.
Keep a simple record
Label trays as you sow them, variety and sowing date at minimum, since seedlings of unrelated crops often look nearly identical at the two-leaf stage and it’s easy to lose track of which cell is which after a few weeks. A phone photo of each labeled tray, or a line in a notebook noting sowing dates and which varieties germinated well, turns next year’s seed starting into an improvement on this year’s instead of a repeat of the same guesswork. Balcony conditions are specific to your exact spot, so your own results over one or two seasons end up being more useful than any generic calendar.
Common seed-starting mistakes
- Starting too early. Seedlings outgrow their space and get leggy long before the balcony is warm enough for them, and a stretched, weak seedling rarely fully recovers.
- Sowing too deep. A seed buried well past the depth on its packet, especially a small one, can run out of stored energy before it reaches light and never surfaces at all.
- Overwatering more than underwatering. Soggy mix invites damping off far more often than a slightly dry tray kills a seedling outright.
- Skipping hardening off. A seedling moved straight from indoor conditions to an exposed balcony can scorch, snap, or simply stall for weeks while it recovers from the shock.
- Weak or distant light. A dim windowsill produces the same tall, thin, structurally weak seedlings as starting too early, just for a different reason.
Seed starting rewards patience more than any other balcony gardening skill; a slower, correctly timed seedling almost always outperforms one rushed through any of the steps above. Once seedlings are established in their final containers, our guide to fertilizing balcony container plants covers when to start feeding them.
Sources
- Iowa State University Extension: How to successfully start seed indoors
- University of Missouri Extension: Starting plants indoors from seeds
- Illinois Extension: Hardening off indoor seedlings
Germination times and frost dates vary by region and by variety. Always check your specific seed packet and local frost-date guidance rather than a generic calendar.